How to Fight Bosses Again in Bloodborne Faster
Elden Ring bosses and how to beat out them
Elden Ring bosses are all over the place. They're tucked into caves, guarding castles, and deep, deep underground. It can be overwhelming when you're starting out, in that location are so many bosses to choose from. But with some planning and a good strategy during the fight, you lot tin can chip abroad at any boss in the game.
The main bosses are a lot tankier than in other Souls games, and it feels like Elden Ring multiplayer was intended to be a large focus. Your power increase seems a lot slower, too, and then some of these bosses can pose a existent challenge early on on. And then if you lot're gear up to face off confronting the bosses in Elden Ring, hither's where to find them and tips to assist y'all survive each encounter.
If you want to avoid spoilers in regards to bosses that are part of Elden Ring's progression or endings , be sure to avoid our 'main' section.
How Elden Ring bosses work
Information technology's non simply the master bosses yous'll need to contend with—open up world bosses are a cool new add-on in Elden Ring. You might be wandering through a lake suddenly to accept a dragon state on you, Skyrim-style, or be crossing a bridge and have to defeat its horseback-mounted guardian. The fights using your Elden Band mount, Torrent, give combat a whole new dimension, a niggling like Sekiro's speed and jumping turned upward to eleven.
You lot'll besides face bosses within the dungeons scattered throughout the world. The difference between most dungeon bosses and their main game counterparts feels like night and day in terms of health and difficulty. A dungeon might require you to fight a few rooms of enemies to get to a boss, whereas big bads like Godrick demand you to attack a fortress and fight an entire army.
When y'all're not focused on core progression, yous'll spend your time building up souls and forcefulness through dungeons and open world bosses as a fashion to go stronger for the challenges the main story throws at y'all. This guide should help you do but that.
And if you but demand to know our own estimate of how hard each dominate is, nosotros've given each a 🔥 rating, with 🔥 being the easiest, and 🔥🔥🔥 existence the hardest.
Elden Ring bosses: location and strategy
Main

Margit, the Fell Omen
Difficulty: 🔥🔥🔥
Advantage: Talisman Pouch
Location: After the ballista at the gates to Stormveil Castle
What to bring: Margit's Shackle (purchased from Patches in Murkwater Cave)
His variable attack speed is the most challenging thing almost Margit. The windup to his club attack, for example, is very slow, but then he will suddenly draw a knife of calorie-free with his other hand and slash you before jumping away and throwing it at you. These throwing knives can be peculiarly abrasive if you're trying to heal after he has simply jumped abroad.
At effectually ii-thirds health, he'll enter his second stage. His combos will be longer, and he'll mix in the hammer, throwing knives, and a sword of calorie-free. The opportunities for dealing damage are slim since he'south so ambitious, and it's all-time to stay away from his four attack combo. If you're finding it too difficult, y'all tin can always purchase Margit's Shackle from Patches in Murkwater Cave, letting you restrain the boss multiple times. Margit's opinion is also very easy to break using bound attacks with heavy weapons or skills such Square Off and Impaling Thrust, letting yous perform a disquisitional attack.
Godrick the Grafted
Difficulty: 🔥🔥
Reward: Remembrance of the Grafted
Location: Stormveil Castle
What to bring: Pure impairment weapons, a big 1 if yous desire to stagger him.
Lookout man out for his earthquake set on, where he'll strike an axe into the ground twice, dealing harm in an e'er-larger AoE. He'll also create a damaging whirlwind AoE that increases in size three times. When he activates the third, he'll also spin into the air and slam down with his axe. Thankfully, his regular attacks are piece of cake to contrivance, and jumping attacks and gainsay skills can prove effective.
In one case y'all get him down to effectually half wellness, he'll start screaming and chopping at his arm. Accept this opportunity to deal equally much impairment as you can before he enters his second phase. Correct at the start of this phase, dart for his right side to avert his arc of flame. Now he'll add burn attacks from his new dragon arm, his AoE whirlwind, and he'll add together a third slam to his earthquake. You can summon Nefeli for this fight, simply merely if you lot talk to her in a room to the correct of the courtyard after you fight the bladed Stormhawks.

Rennala, Queen of the Full Moon
Difficulty: 🔥🔥
Reward: Remembrance of the Full Moon Queen
Location: Raya Lucaria Academy
What to bring: Drain weapons, fast weapons (for stunlock)
In the start phase, she'll bladder effectually the ceiling in a shielded cocoon. To bring her downwards, hitting iii of the child-like scholars with the glowing aura, and the cocoon will break. Rennala volition then autumn to the flooring, letting you bargain harm for a set amount of fourth dimension. Once she starts to glow, back off very quickly to avert an AoE explosion.
In her 2nd stage, Rennala will transport you to a moonlit lake and kickoff firing sorceries at y'all, beginning with a beam that will one-shot you lot if you're not careful. Picket out for the crystal shards she summons to rapidly burn down at you. Thankfully, she staggers pretty easily in this phase, and drain is peculiarly practiced against her. If the fight goes on long enough, she'll create an AoE shockwave around her and summon different enemies, ranging from wolves to a dragon. If yous tin can summon anything to kite the enemies or attack her, information technology'll make the fight a lot easier. Either way, stay ambitious, and go on closing her downwards.
Starscourge Radahn
Difficulty: 🔥🔥🔥
Reward: Remembrance of the Starscourge
Location: Redmane Castle, Caelid
What to bring: Anything that inflicts scarlet rot at range, or poison if not.
Radahn is a fun boss, but tricky due to his size, assailment, AoE attacks, and unpredictable aggro. When you head through the portal into the boss loonshit, summon allies using the signs while dodging Radahn's ranged attacks, or using the rubble to block them. Stay at a distance until your allies bring Radahn into melee and he draws his swords.
Now, get on horseback. If you lot have poison or ranged, I suggest chipping him down while standing to summon allies with the signs that re-appear once they die. If you lot're melee, sprint in on Torrent to brand charged attacks confronting his rear/horse when he concludes combos. By and large maintain distance, though, and allow your allies to distract him.
Once he's one-half health, he'll disappear and return as a flaming comet. While he'south away, run around the colina crest and summon more allies. In this phase he'll conjure iv meteors effectually him. Go along to summon and chip him down when possible, but stay close to the ridge-crest. When he runs away from yous, he's gonna send those meteors flying, so use the hillcrest to cake them. If you are melee, this fight takes a little while, since it requires some circumspection in terms of getting hits and non losing Torrent to his seemingly endless attacks. I also don't recommend summoning a friend for this, since it'due south even harder without a horse.
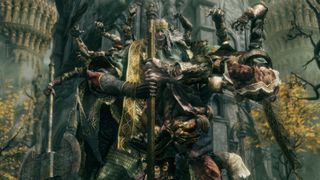
Morgott, the Omen King
Difficulty: 🔥🔥🔥
Reward: Remembrance of the Omen King
Location: Leyndell, Royal Upper-case letter
What to bring: Margit'south Shackle
Morgott is ane of the hardest bosses in the game. He'south extremely quick, deals a lot of impairment, and his attacks have very wide arcs. I recommend you summon Melina, and use NPC ashes like Oleg for the first phase in order to dissever his aggro. At first he'll only swipe with his sword, throw knives, utilize his hammer, and summon light swords from to a higher place you that split the arena into sections. This is the fourth dimension to get ambitious if you want Melina to live into the second phase, which is extremely helpful. Anytime he turns his back to injure her, become some hits, and so rinse and repeat. Greatshields can also be good in this outset phase due to his purely physical damage attacks.
Once his wellness is down to one-half, he explodes in an AoE and his sword will gain what looks to be an occult infusion. Continue as earlier, just now be enlightened of his longer combos, and particularly, when his sword turns ruby and he prepares to set on. If he's pulling his sword back to stab, he's going to rush forrad to impale you. Otherwise, it's a two-hitting attack, but considering the first stun locks y'all, information technology'south likely y'all'll die if you're hit by either. The fundamental with Morgott is timed aggression and aggro swapping in club to go on your summons alive, while beingness aware of his big attacks. He tin kill yous very quickly, but once you become used to his attacks, he shouldn't give yous too much trouble. Luckily, Margit's Shackle also works on Morgott, giving you a piffling assist.
Rykard, Lord of Blasphemy
Difficulty: 🔥
Reward: Remembrance of the Blasphemous
Location: Volcano Manor, Mt. Gelmir
What to bring: Serpent Hunter
This big serpent is basically the concluding evolution of the Yhorm fight from Dark Souls 3, or Storm King from Demon Souls—a massive boss that'due south all about using a specific weapon to take them down. You grab the Ophidian Hunter spear simply past the fog door in the boss arena, and it's a must for this fight, unless you want a real slogfest while constantly getting burnt by lava. Bit down the serpent and maintain distance, while you watch out for its lunges, poison spewing, and are conscientious of not backing up against the arena wall.
When Rykard appears in the 2d phase, he'll use a sword, with slow three hitting combos, and a fast repeating stab. He has massive reach, then be sure to dodge all of these. At about half health, he'll enhance his sword in the air and summon skulls that will rails you and explode, so it's time to run, or switch to a weapon with Bloodhound Stride to evade them. In one case this phase is over, information technology should be pretty easy to terminate him off, just sentinel out for the occasional snake-head attacks from the first phase that Rykard throws into the mix, and the big charged slash that breaks the footing.
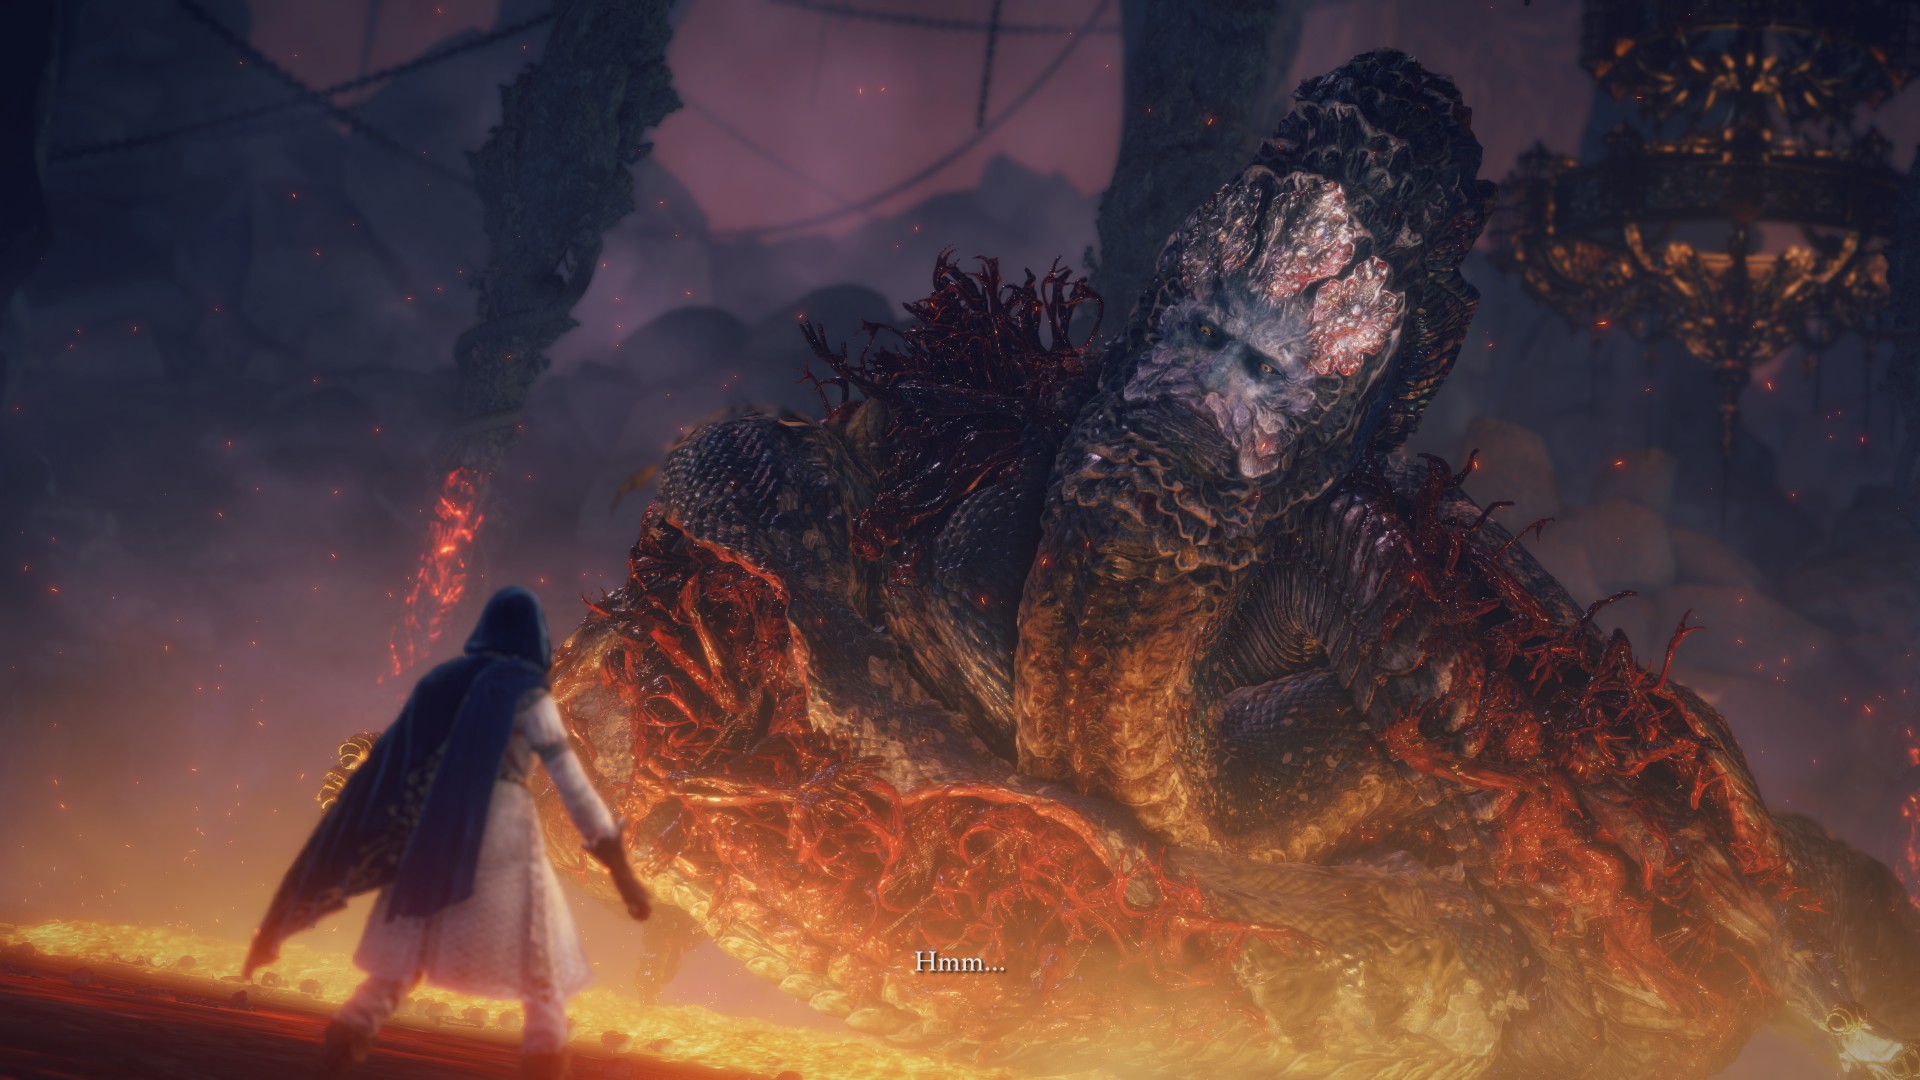
Burn down Giant
Difficulty: 🔥🔥
Reward: Remembrance of the Fire Behemothic
Location: E Mountaintops of the Giants
What to bring: As much damage as you tin can muster
You'll want to be on Torrent for the entirety of this fight. The Burn down Giant is massive and his attacks cover a wide area, but they don't frequently hit the aforementioned spot he'south in. That means that your goal for this fight is to stay underneath him and attack the human foot you tin target. Occasionally he'll send of fire orbs to pursue you and explode, or apply an AoE that makes pillars of fire outburst from the basis. If yous're focused on his feet, also scout out for his attack where he suddenly backsteps and brings down his weapon where he was standing.
In the 2nd stage, the behemothic is on his knees. The safest place to bargain damage is backside his legs, just if yous practise this he will frequently reposition by rolling. A more than dangerous alternative is baiting his attacks then hitting his hands. Sentry out for his flaming pillar AoE and when he erupts like a volcano. You can avert the second 1 past hiding under his legs. This isn't a super tough fight, but it'south main difficulty is how tanky the giant is.
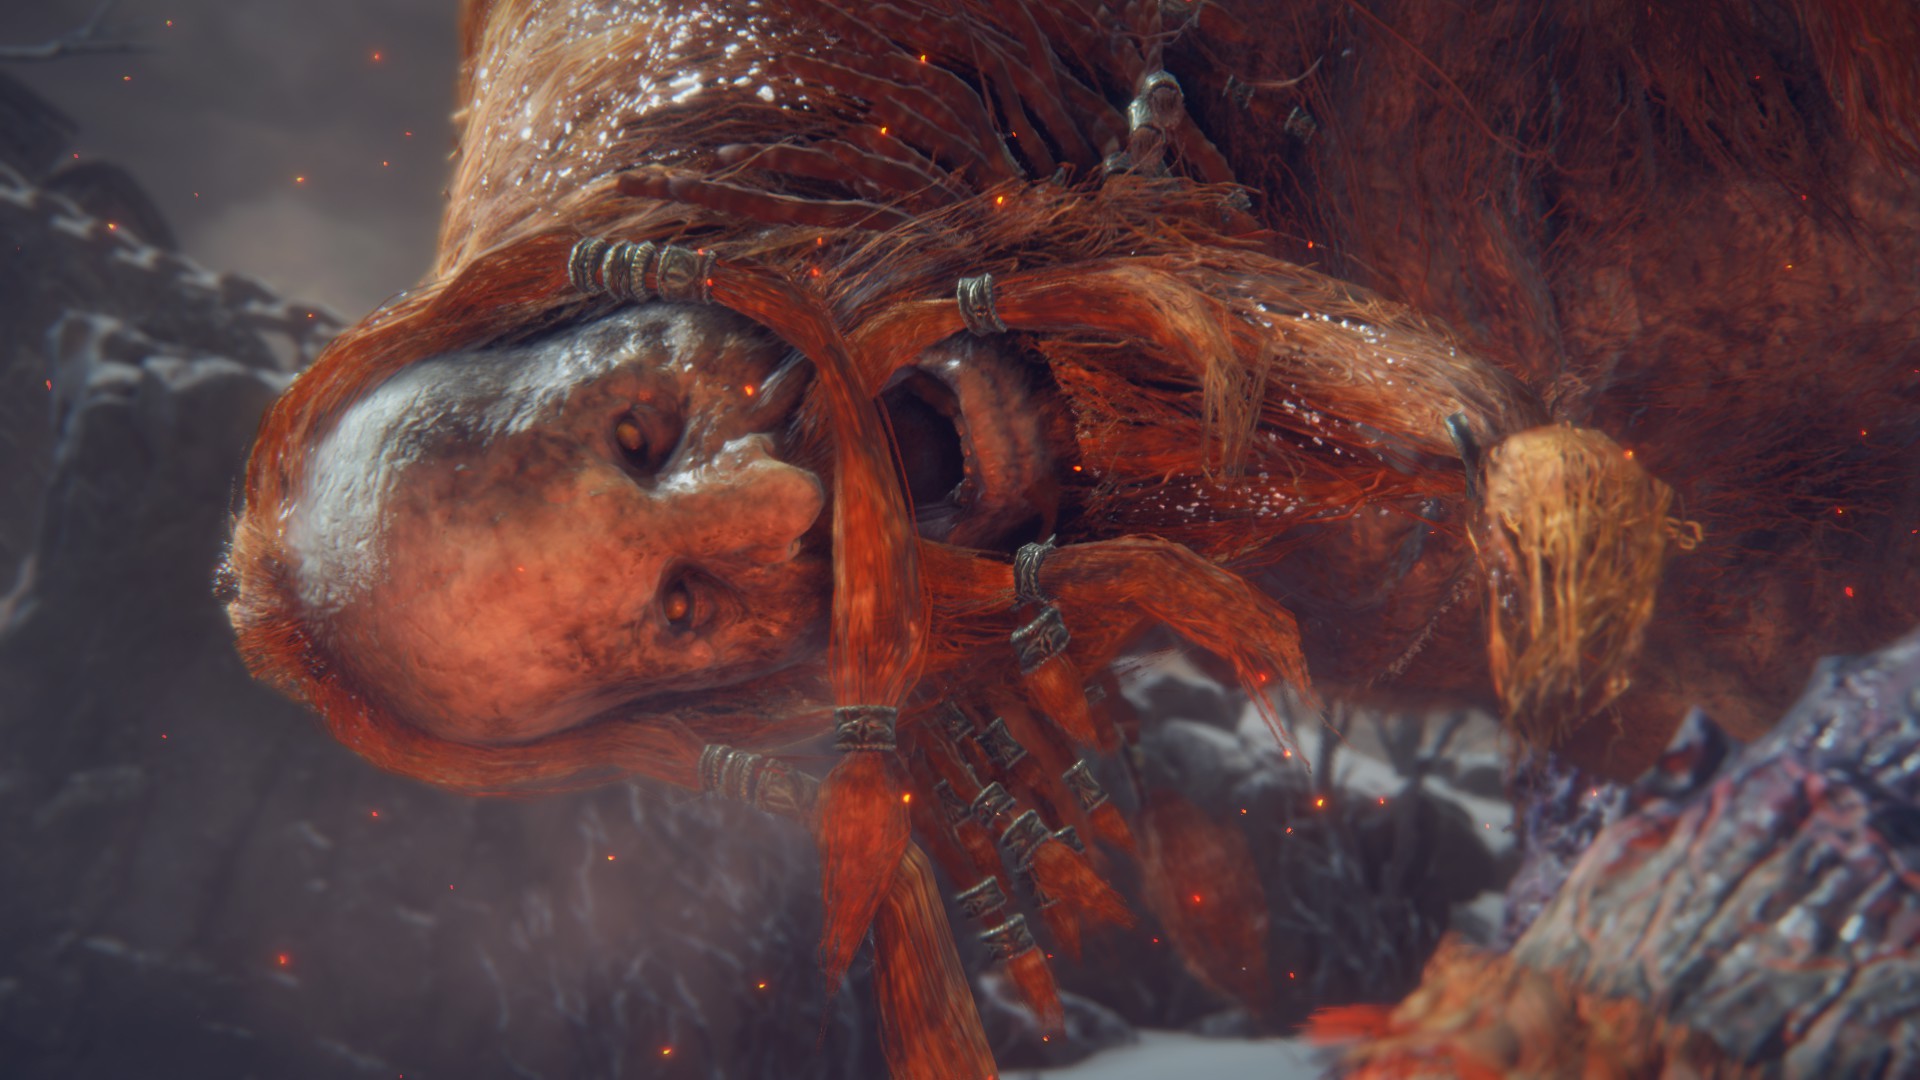
Maliketh, the Black Blade
Difficulty: 🔥🔥🔥
Advantage: Remembrance of the Blackness Blade
Location: Farum Azula
What to bring: Mimic Tear ashes
For the kickoff phase, yous want to find opportunities to get shut to the Beast Clergyman. He'll frequently use Unmerciful incantations to hurl boulders and stone fragments at you. Also watch out for his fast slashing combos. The safest way to deal with him is by using your summon to divide aggro and dealing as much damage equally quickly as possible. You actually don't want this phase to elevate on and become attritional, since Malekith himself is far harder.
Malekith is a real hurting due to his aggression and speed. Most of his plunging attacks have an exploding AoE, he'll jump into the air to fire projectiles at you, and any time he hits, y'all'll take harm over time. Having your summon for this phase is pretty vital, since that aggro carve up will give you opportunities to attack. He moves a lot, but if you tin can predict where he's going to land, that'll likewise give you lot some opportunities. In full general, attacking from the side or rear is better than facing him head on.
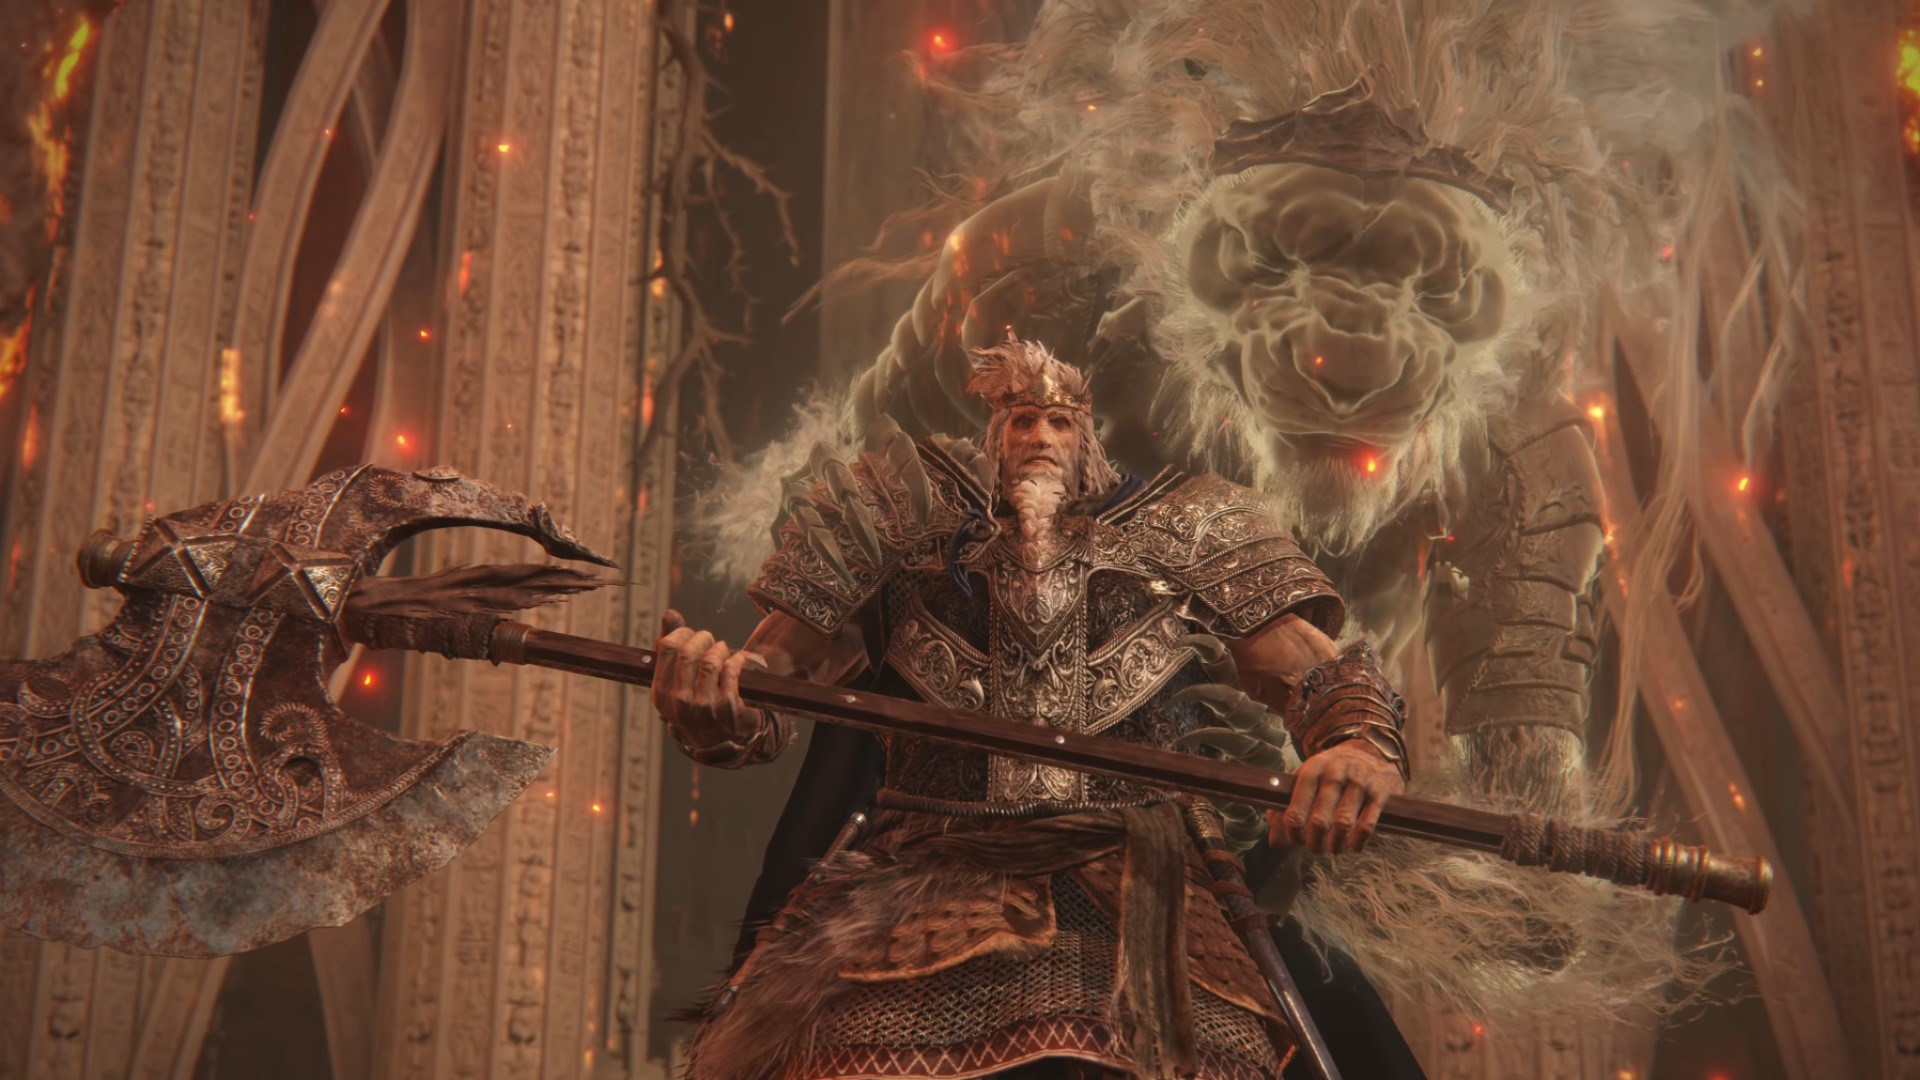
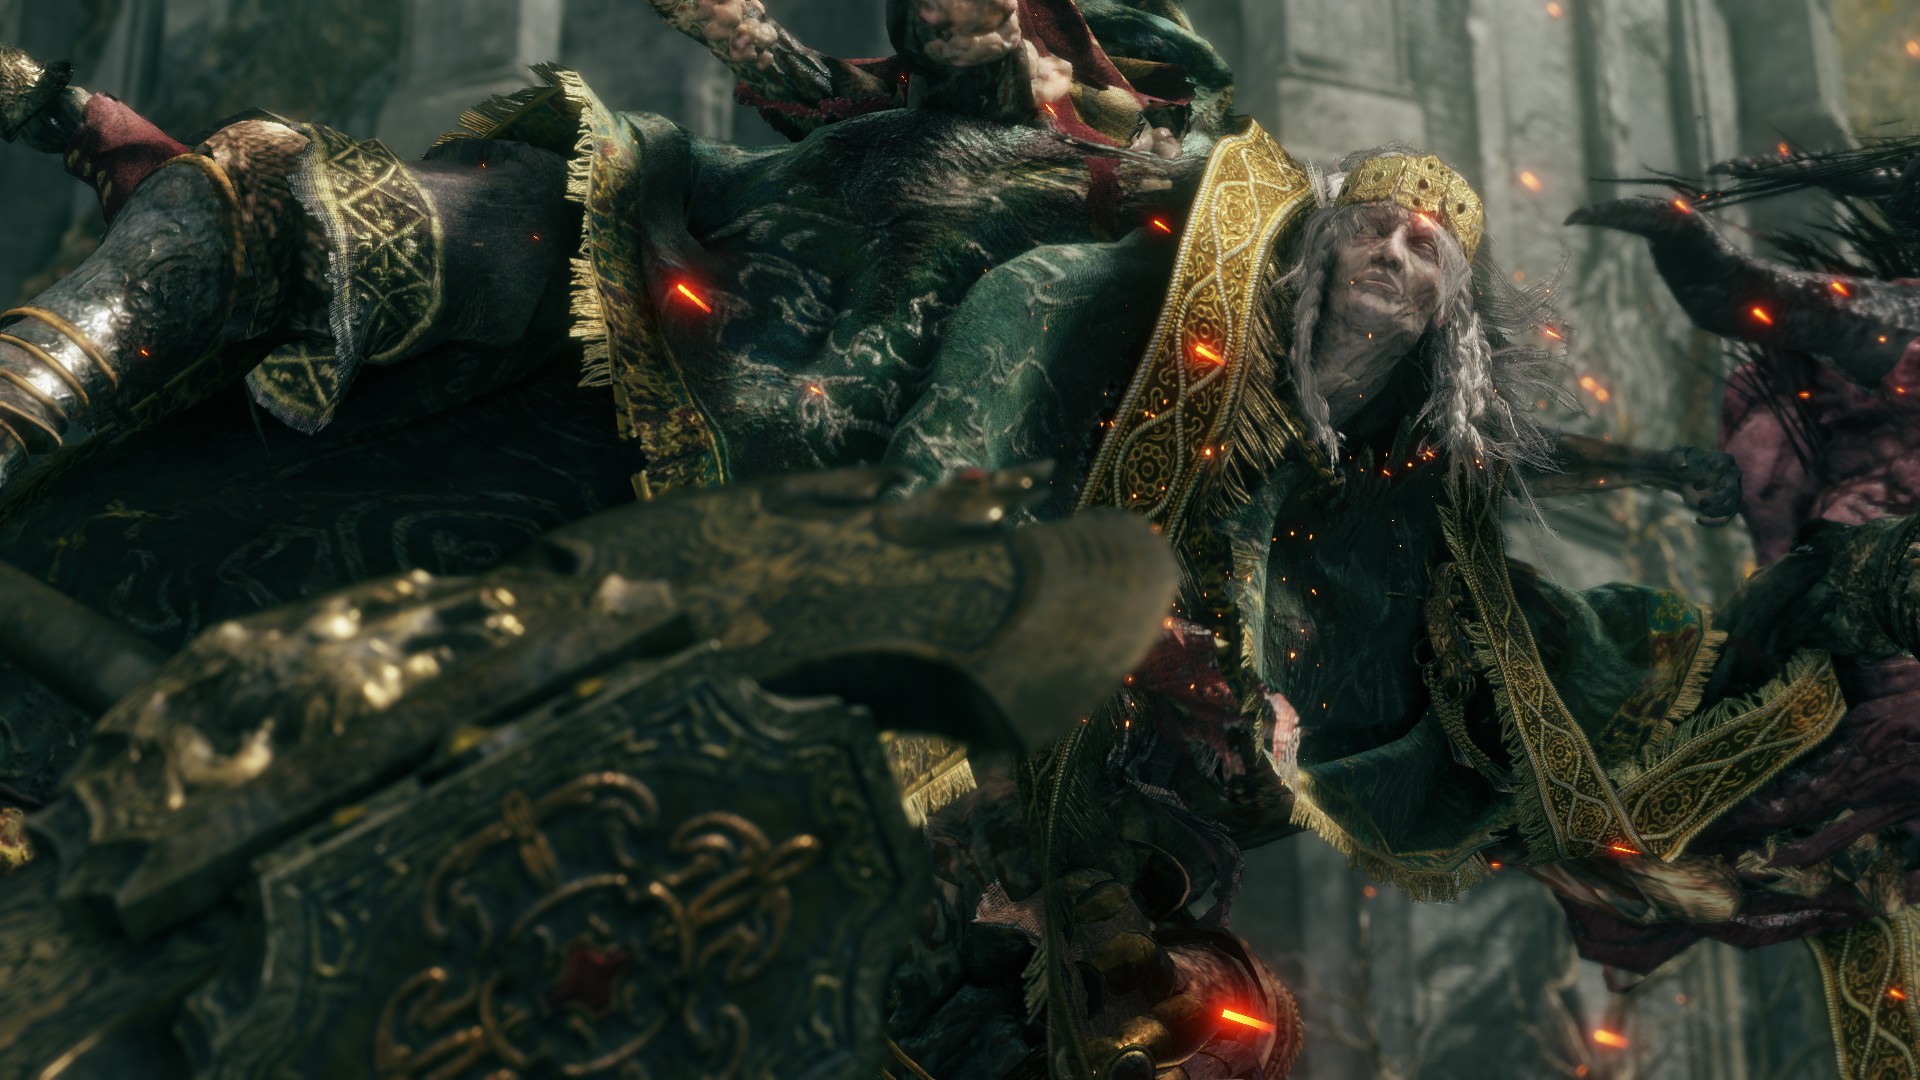
Hoarah Loux, Warrior
Difficulty: 🔥🔥
Reward: Remembrance of Hoarah Loux
Location: Leyndell, Cadaverous Capital
What to bring: Lightning
As with Morgott, you already got a chance to fight the start stage of this boss in the Erdtree Sanctuary in Leyndell. The but real deviation with the alive version is that he will offset stomping when he gets below a certain wellness level, and that'south actually a theme for this fight. You can avoid about of these AoE earthquakes by jumping, and that volition let y'all stay close-ish to deal damage, though you'll take to acquire the timings.
Once yous get him down to almost one-half HP, he basically turns into a wrestler. This phase is kind of the opposite of what he was before, equally now he'll exist fast, will combo for days, and try to grab yous so he can perform some fancy wrestling moves. Luckily, he's kind of a glass cannon. Cautiously find opportunities to deal damage at the end of his combos, afterwards he tries to grab you, and after you bound his many stomps.
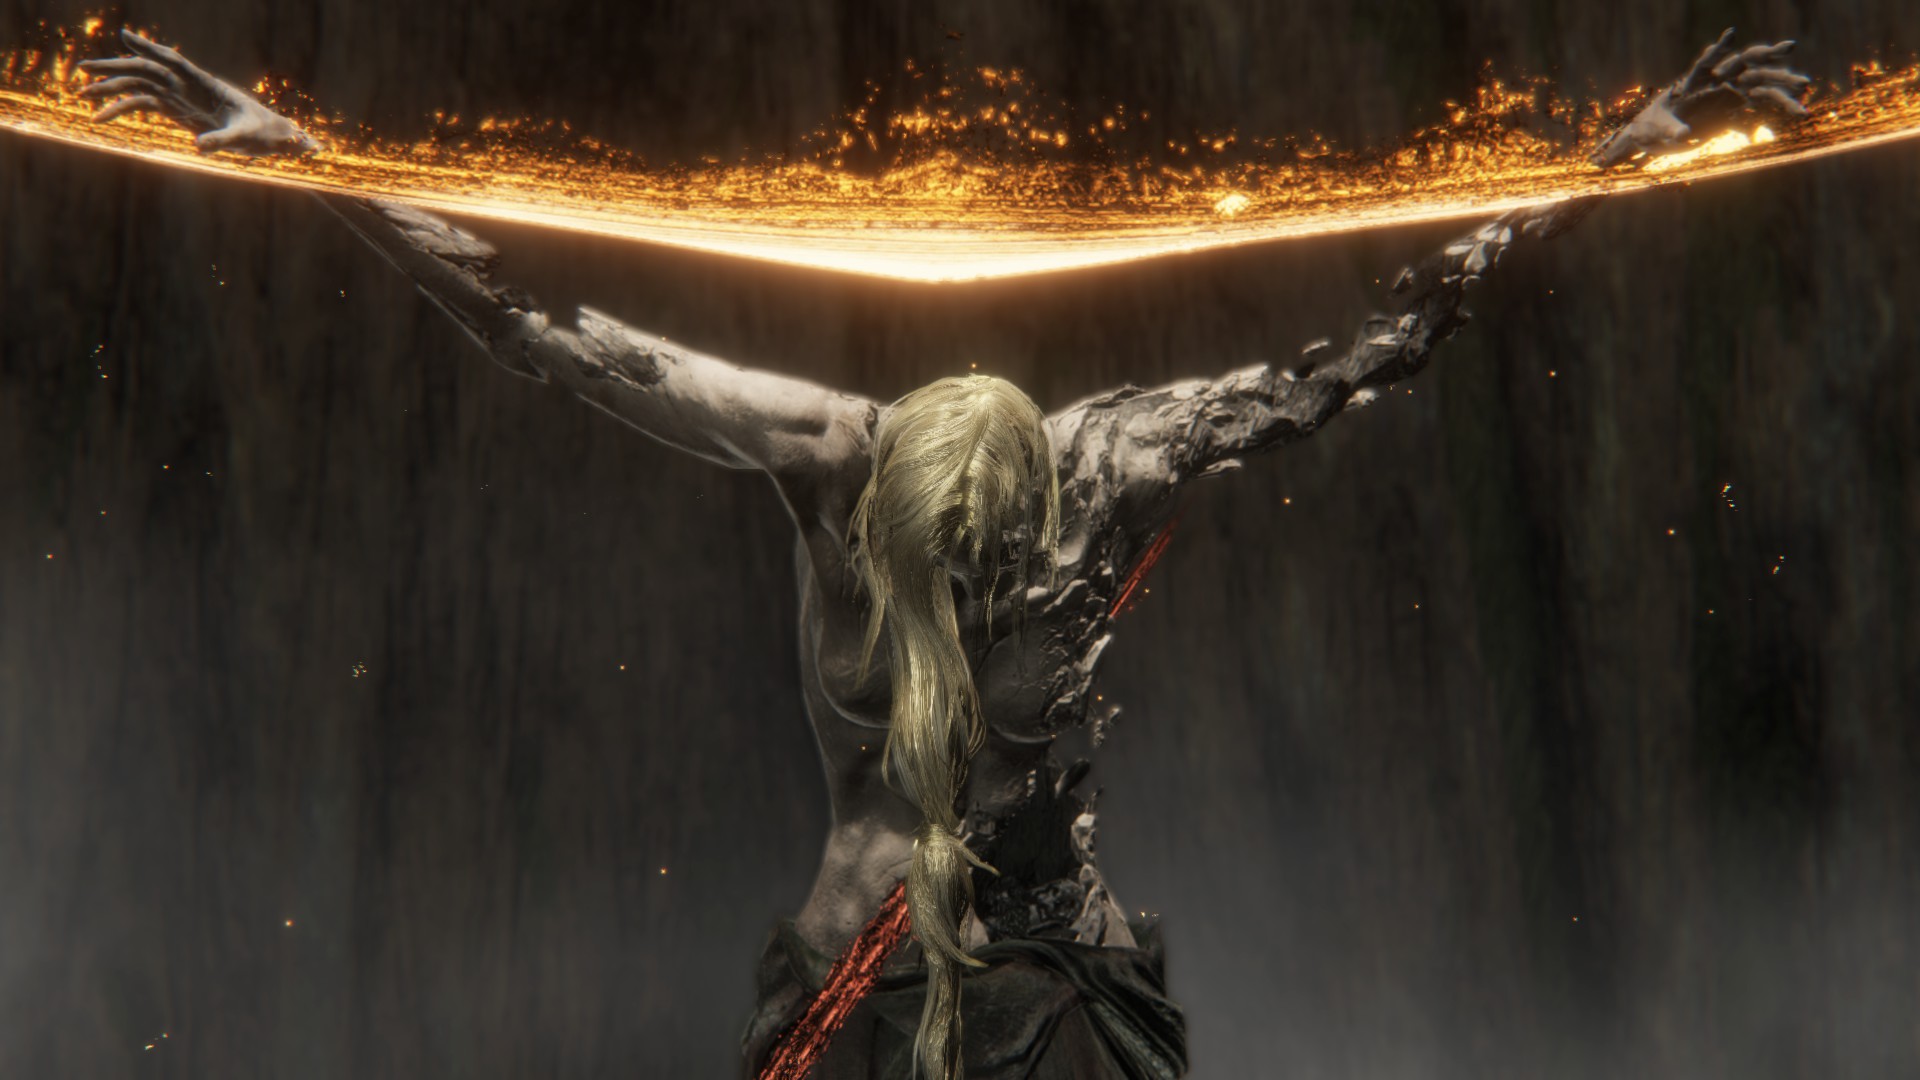
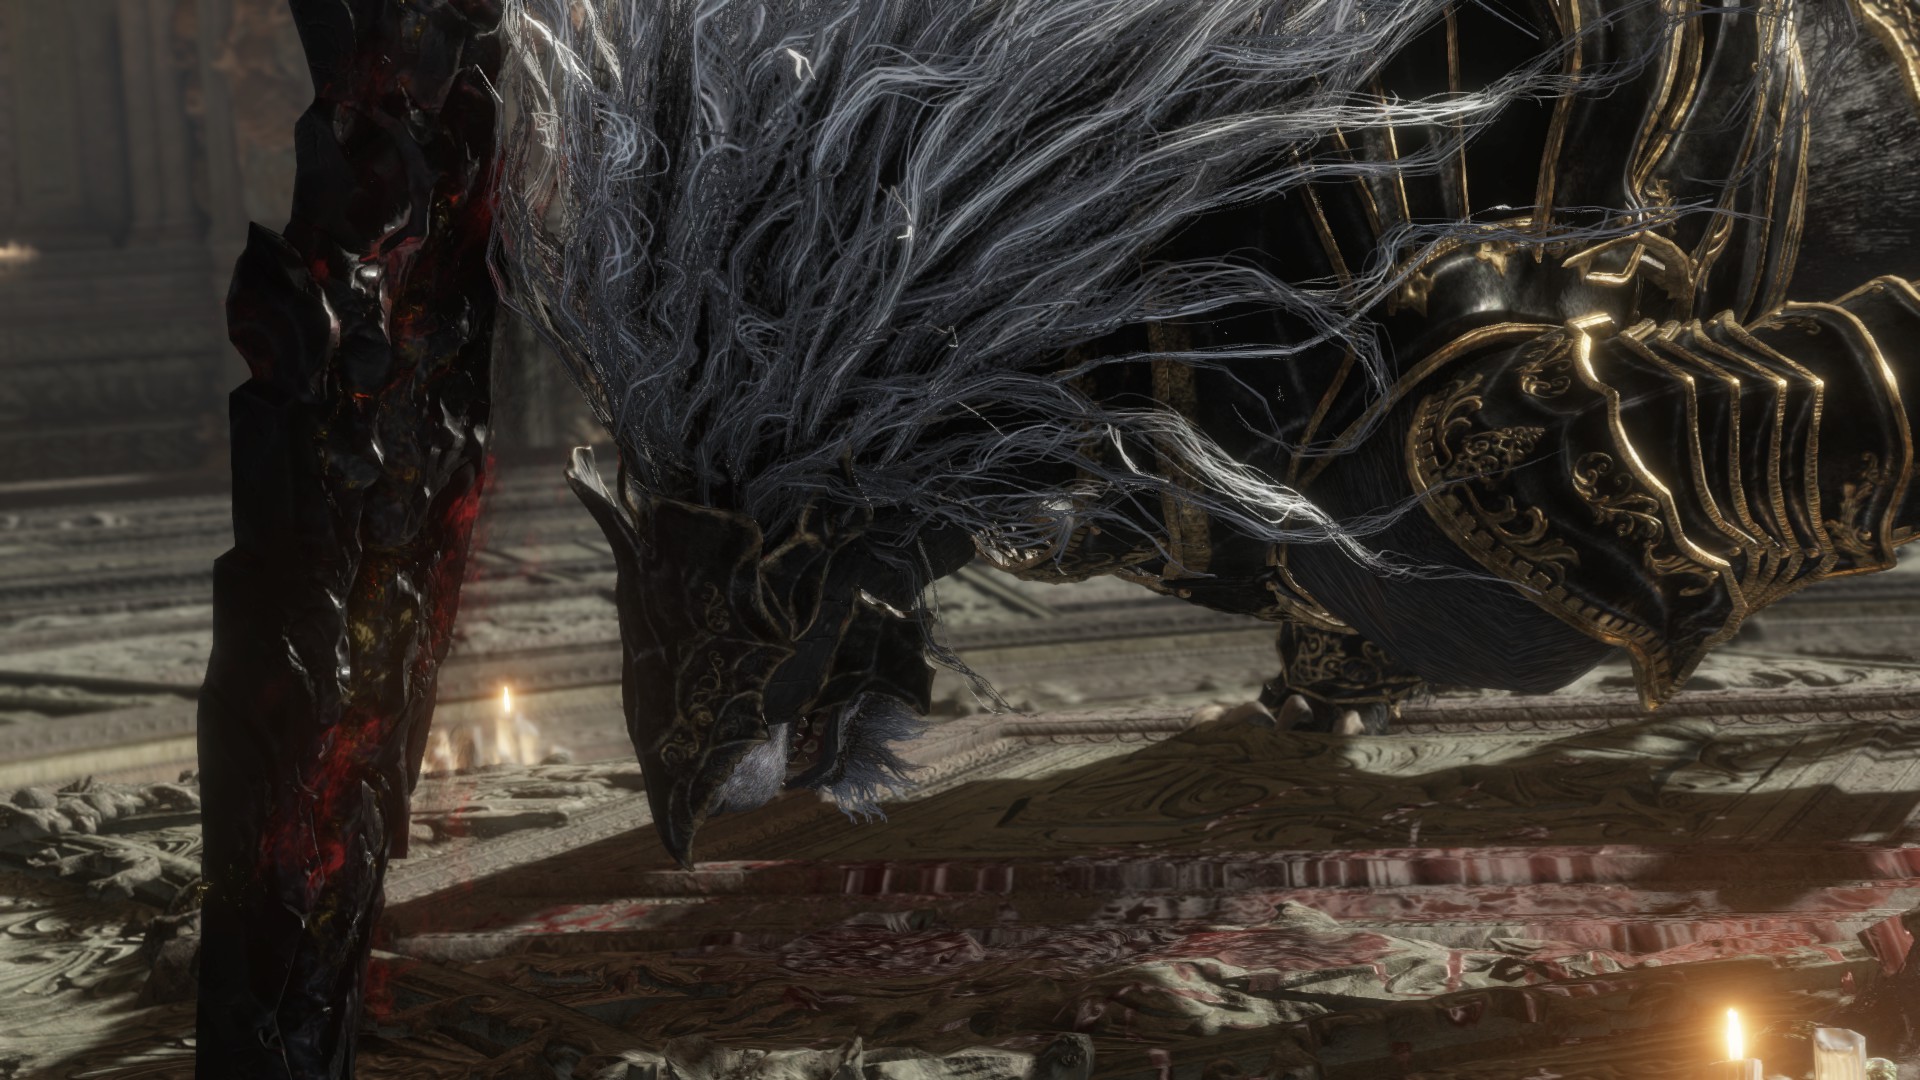
Radagon of the Golden Society
Difficulty: 🔥🔥🔥
Reward: Elden Remembrance
Location: Leyndell, Ashen Uppercase
What to bring: Resistance to Holy damage, possibly a low-cal equip load
Elden Ring'southward Legendary Armaments
The final boss of Elden Ring is basically ii fights stacked on top of each other. The start, Radagon, is a divine blacksmith with powerful AoE attacks that deal Holy damage. He also has deceptive speed, zooming towards you to swing his hammer, and teleporting around the battlefield to create explosions. I greatly recommend bringing Holyproof Dried Liver, or the Lord's Divine Fortification incantation, as this reduces a proficient deal of Radagon's damage potential.
A stiff summon is recommended, such as the +10 Mimic Tear, since splitting aggro makes it safer to attack him. A lot of his AoE attacks, like the hammer strikes and lightning bolts, require precise dodging, and then a low-cal equip load can make things easier, and the reduction in resistance doesn't matter so much if yous're using some kind of Holy impairment reduction.
Once Radagon dies, you'll accept to face the Elden Animate being. This part of the fight is arguably a lot simpler than Radagon, since the beast'southward sword swings, exploding clouds, and the arcs of the calorie-free it fires are well telegraphed, and easier to dodge. I found the best manner to bargain melee damage was to get in close effectually its middle, since it doesn't accept much to protect against this other than the occasional fire assault or to reposition.
The other attacks to be enlightened of are when it flies into air to summon a ring around you that can exist jumped before dodging the following explosion. Also be aware of it summoning Holy missiles like to the Erdtree Avatars. Simply sprint to one side when you lot come across it summoning and the missiles will fall behind you.
Optional
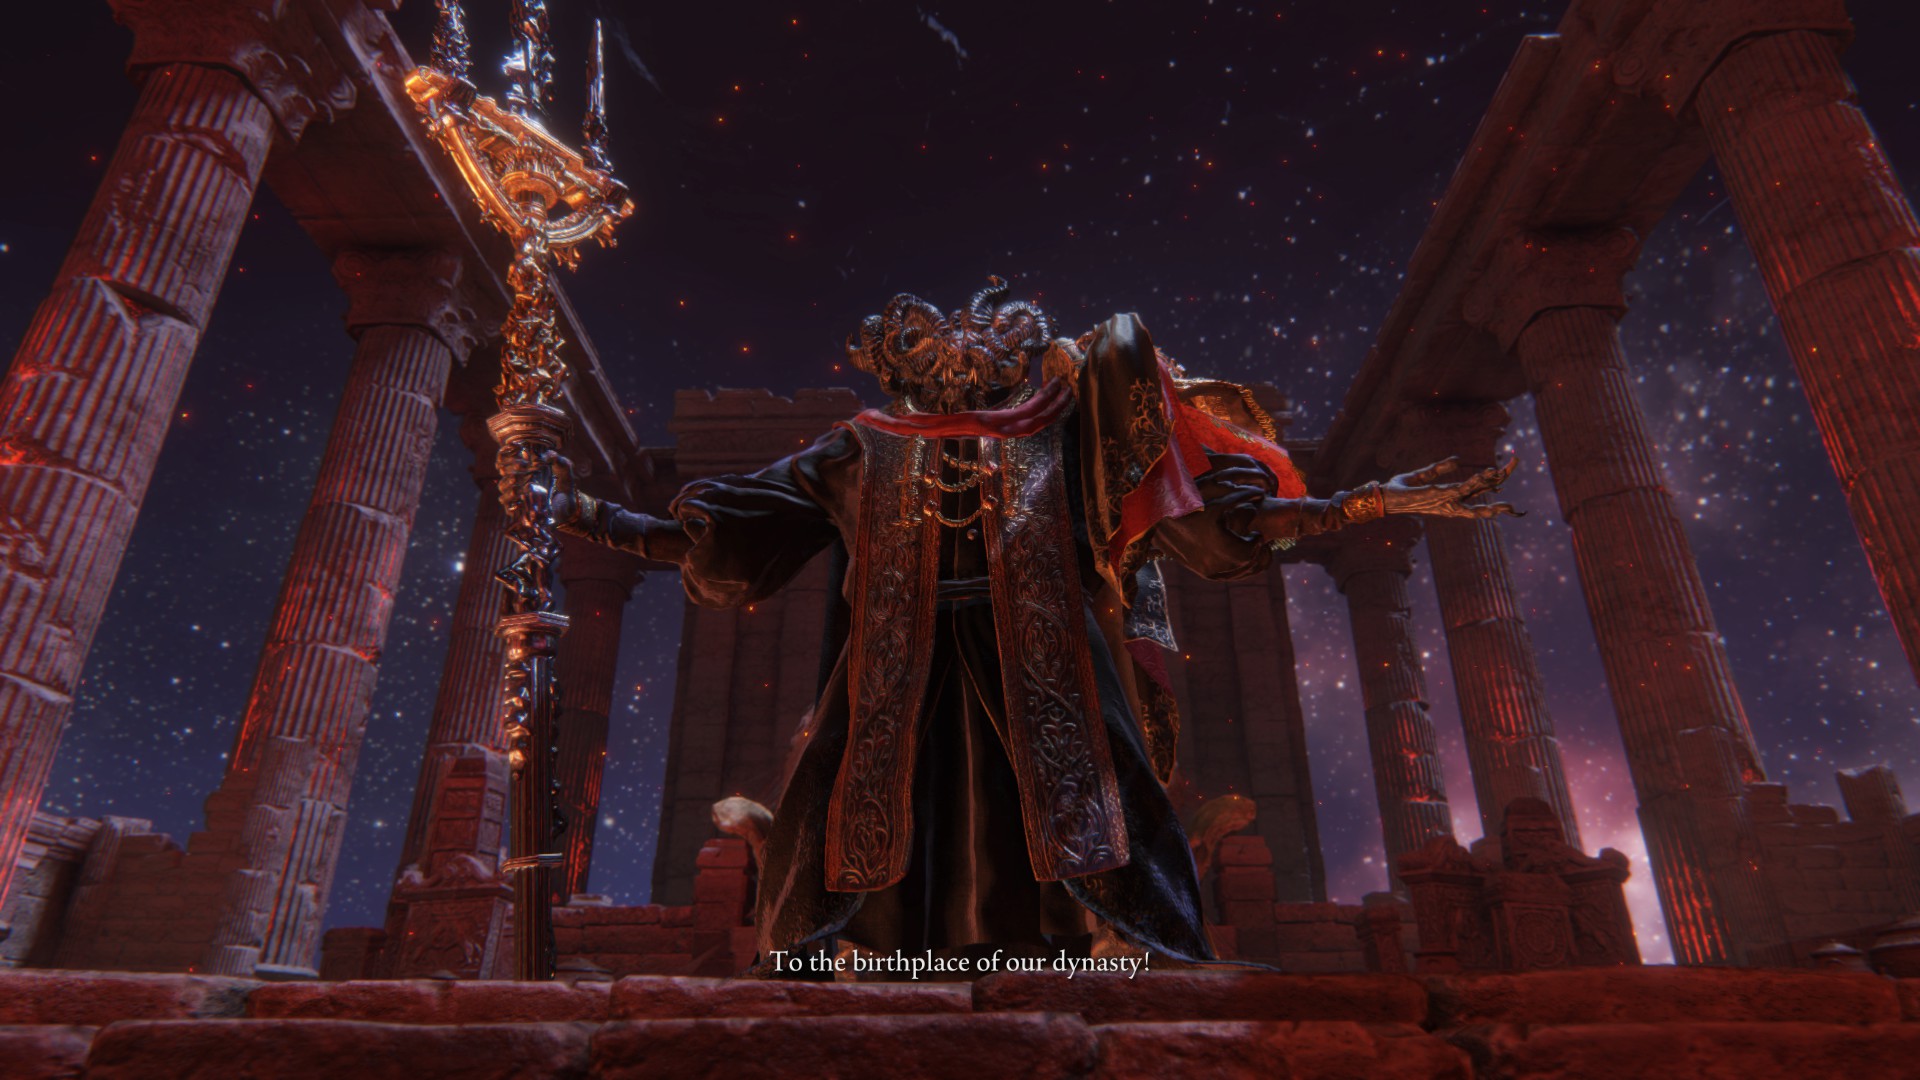
Mohg, Lord of Blood
Difficulty: 🔥🔥
Advantage: Remembrance of the Blood Lord
Location: Mohgwyn Palace, Siofra River. Get there through the portal on the southward-westerly edge of the Consecrated Snowfield.
What to bring: Bleed, Mohg's Shackle
In the same way that Margit prepares you for Morgott, Mohg the Omen in the Cathedral of the Forsaken is good practice for the real bargain. You lot tin also find Mohg's Shackle in the Subterranean Shunning-Grounds in the pit with the giant crayfish, which makes this fight a petty easier. Mohg, despite his proper noun and attacks, is really susceptible to drain. The starting time phase is very similar to Mohg the Omen, just once you go him down to around half HP, he'll cast iii red rings around you, before chanting "Nihil" three times.
Each time Mohg chants Nihil, you'll get bloodloss, then either heal in time with his chanting or use the Purifying Crystal Tear in your Flask of Wondrous Physick to nullify the curse. You lot become this by defeating Violet Bloody Finger Eleonora in the Second Church of Marika on the Altus Plateau, which is part of Yura's questline. Now, Mohg will have wings and throw a few flying attacks into the mix. This is the fourth dimension to shackle him and get to town with your bleed weapons.
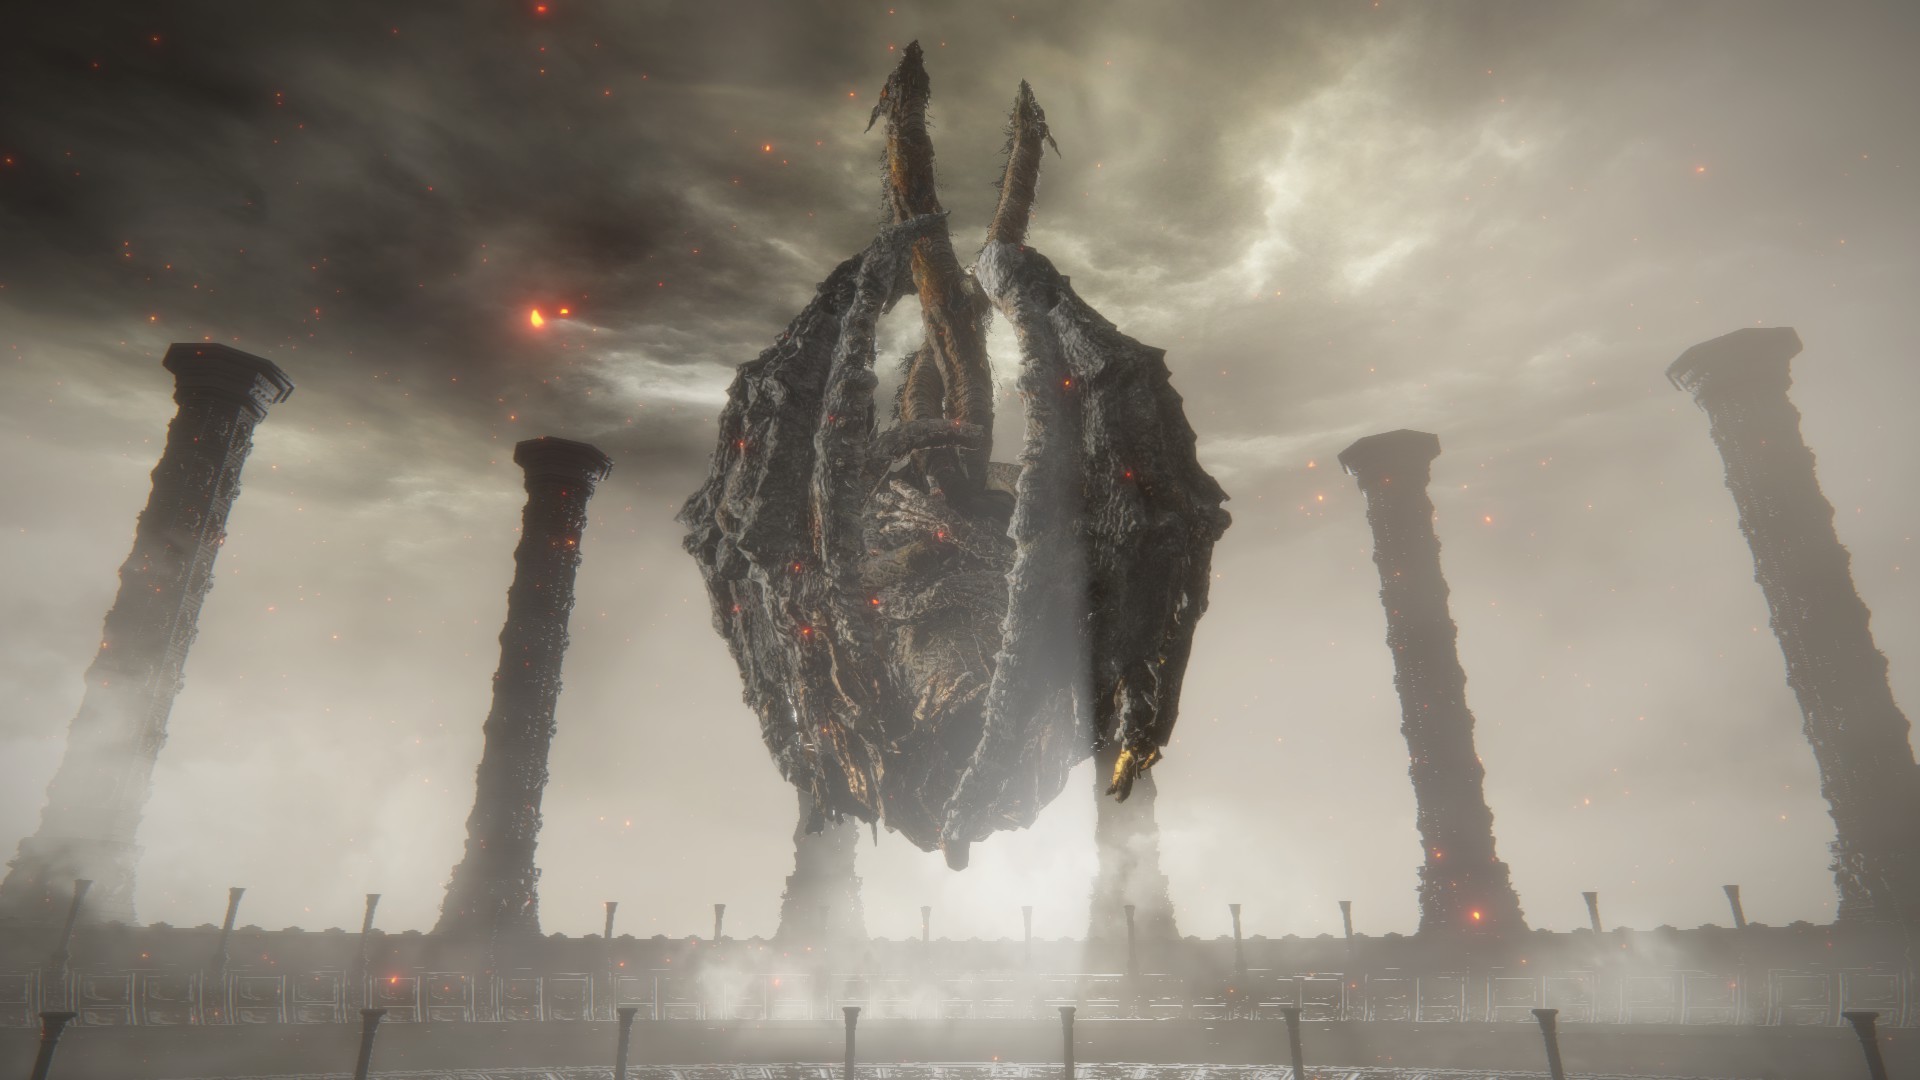
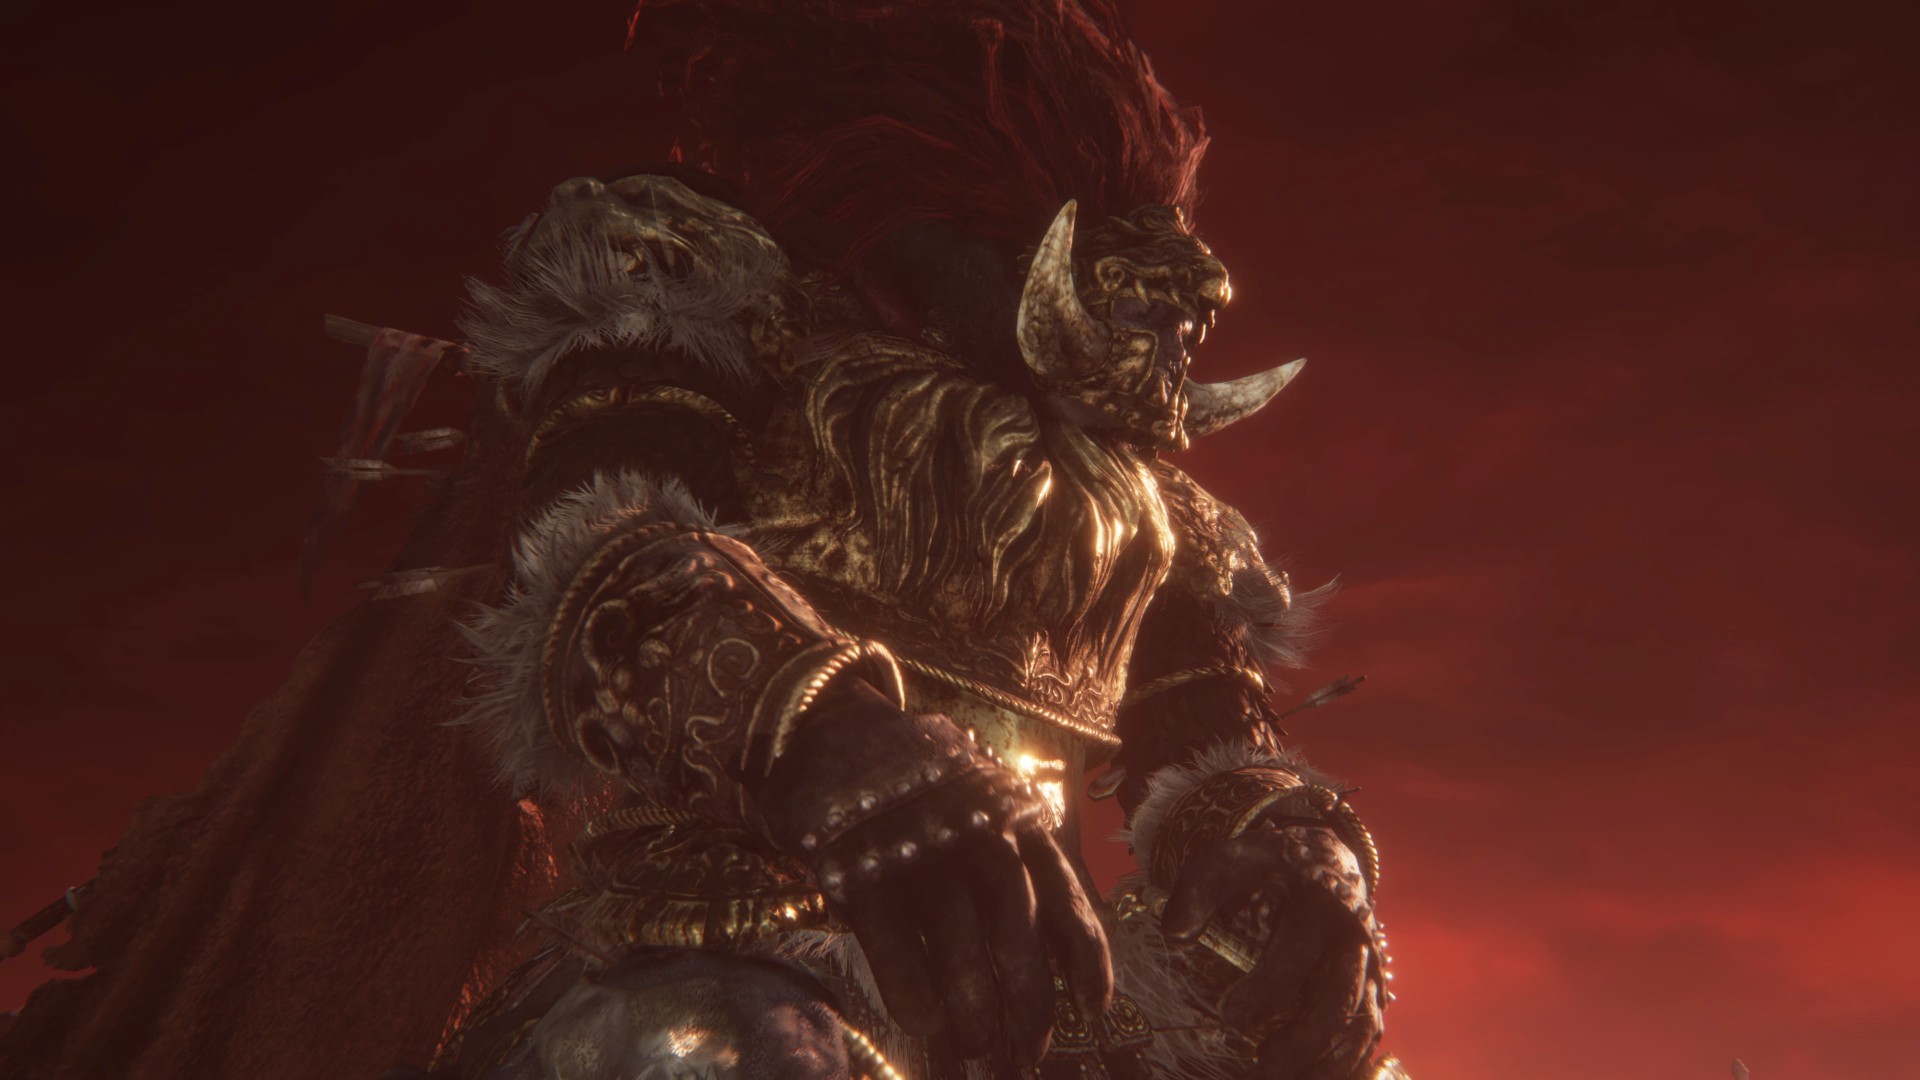
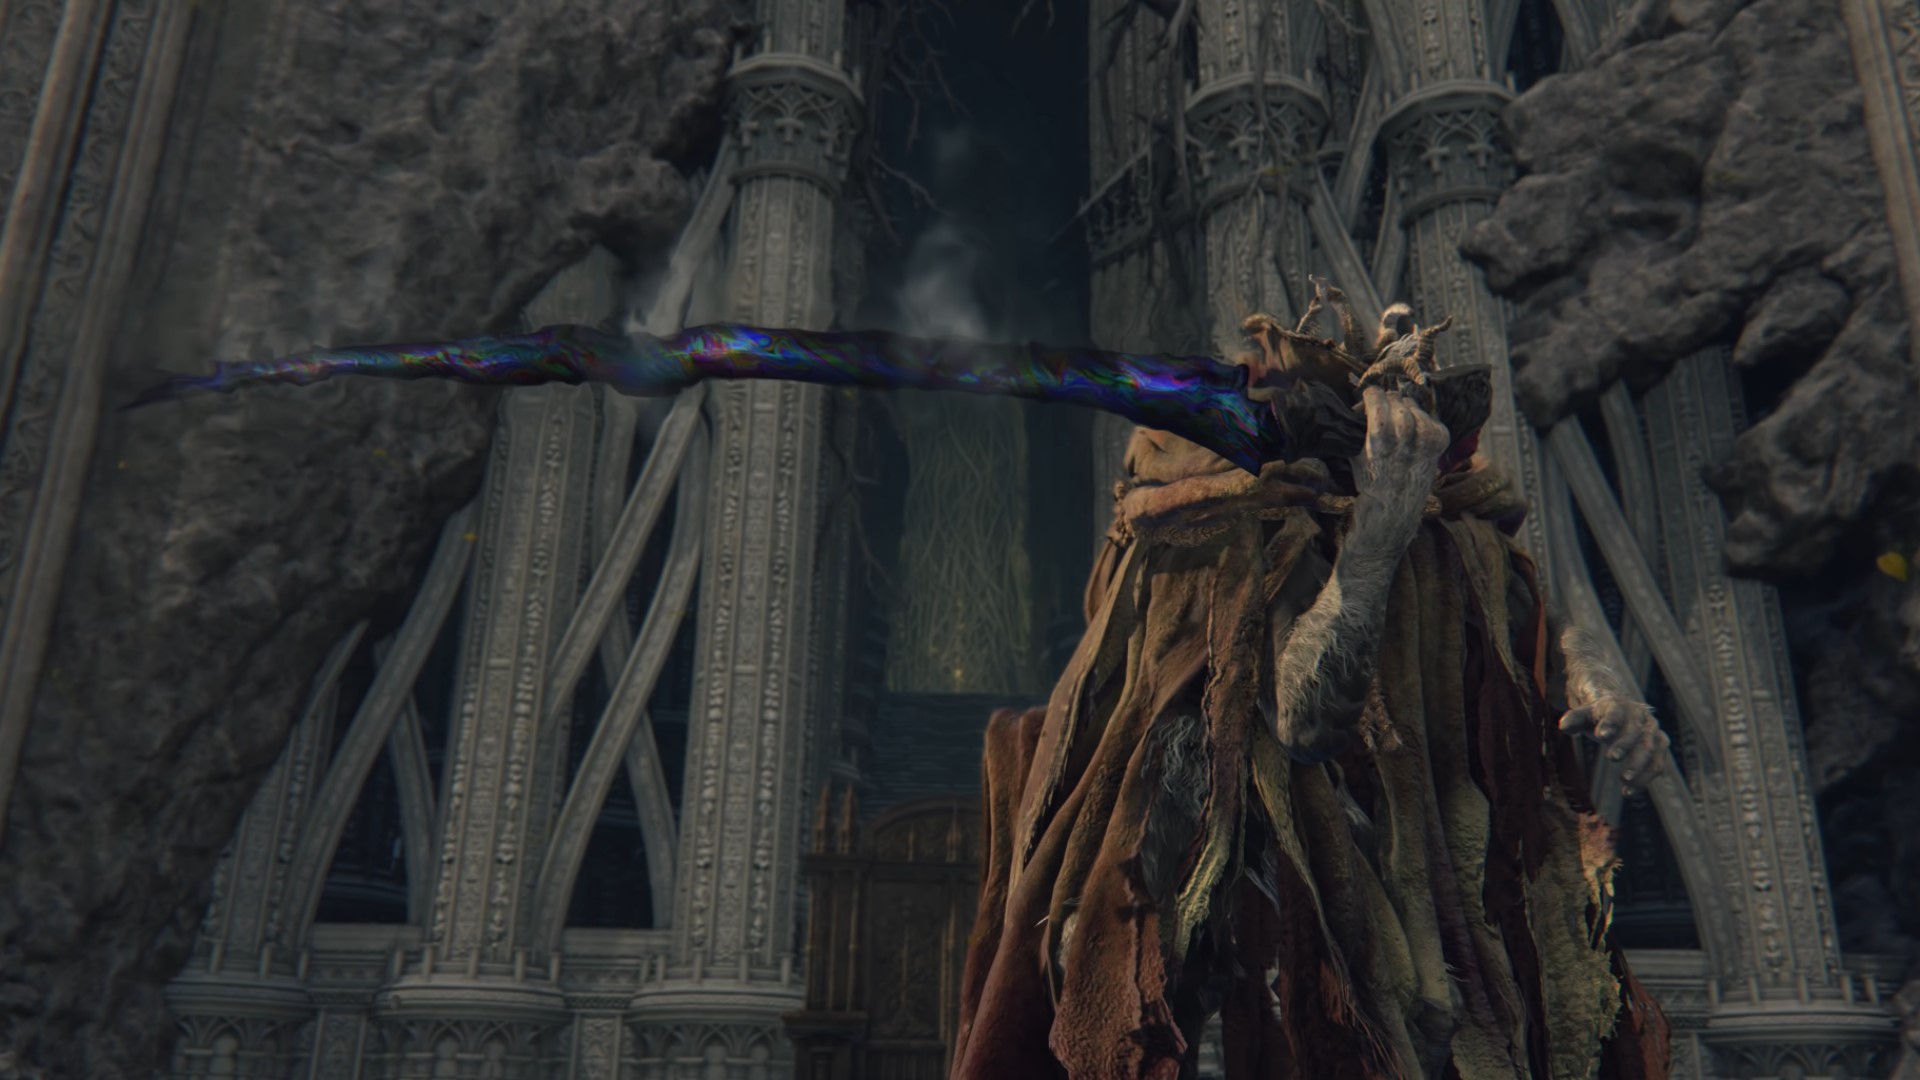
Dragonlord Placidusax
Difficulty: 🔥🔥🔥
Reward: Remembrance of the Dragonlord
Location: Farum Azula. Descend forth the cliff before the elevator upward to Malekith, then lie downwards in the open grave.
This is ane of the toughest fights in the game. Placidusax has wide attacks that basically require yous to be right adjacent to him to get whatever harm in. You too have to picket out for lightning strikes throughout the arena. One time you lot reduce his health plenty, he volition have off and disappear. Wait out for the lightning wreathed fog to spot where he'll emerge from, and become ready to dodge his flying swipe assault. An NPC summon is definitely recommended for this fight, every bit information technology will help you distract his aggro and so you tin can deal impairment.
Malenia, Bract of Miquella
Difficulty: 🔥🔥🔥🔥
Reward: Remembrance of the Rot Goddess
Location: Elphael, Brace of the Haligtree
Items to bring: Bleed, Frost, Bloodhound's Step, or perhaps a greatshield
I know our calibration only goes up to three, but Malenia is arguably the toughest dominate ever featured in a FromSoftware game. We go into more than depth in our defended guide, but safe to say, her strength is due to 2 primary factors: she heals herself when she hits you, even if hitting a shield, and she has one assault that can be almost incommunicable to deal with depending on whether yous have high endurance and a greatshield, or where you're standing.
The best bet for beating her is either trading aggro between you lot with magic, letting yous maintain a distance, or ganging upward on her with two other summons and stunlocking her into oblivion. Drain and Frost are very good, equally is anything that knocks her off her feet, such as some strength weapon skills, and magic like Comet Azur. Also brand sure to bring an incantation or consumable to remove Scarlet Rot for the second stage.
Astel, Naturalborn of the Void
Difficulty: 🔥🔥🔥
Reward: Remembrance of the Naturalborn
Location: Lake of Rot. Get cozy in a bury and take a ride to meet a large bug.
What to bring: A big weapon to smack him in the caput with.
You can actually fight Astel in multiple locations, but the true Astel appears towards the terminate of Ranni'due south quest, past the Lake of Rot, in the depths of Ainsel River. Astel feels very like to the Fallingstar Beast bosses, using lots of AoE gravity attacks, and creating clouds of stars that explode subsequently a delay. Your best bet is to smack him in the head with jumping attacks in order to stagger him, letting you deal a critical strike. Usually with beast bosses, it's a adept thought to stick around their middle, just Astel's AoE attacks mean this is a terrible thought.
Focus on attacking his confront when y'all tin. He volition snap at you, and endeavor to grab y'all with his pincers, but continue dodging and smacking his skull to stagger him. Also lookout man out for him teleporting effectually the arena, and the very occasional teleportation grab set on that he has.
Regal Antecedent Spirit
Difficulty: 🔥
Reward: Remembrance of the Regal Ancestor
Location: Nokron, Eternal Metropolis. Calorie-free the beacons and head to the temple.
What to bring: Holy or fire damage.
This fight is very similar to the Ancestor Spirit in Siofra River, merely a little harder due to the fact that this boss can heal. During the fight, the stag will summon spirit animals around the arena, then when information technology gets beneath a certain impairment threshold, kill them to heal itself. This makes the fight a trivial longer, simply it's still non especially tough. The spirit's breath attacks are easy to dodge, and you mainly simply have to keep away from its horns.
Commander Niall
Difficulty: 🔥🔥🔥
Reward: Veteran'southward Prosthesis
Location: Castle Sol, Mountaintops of the Giants.
Niall is a tough one. He summons two banished knights that will get in hard to hitting hit him. You'll want to take out the knights one past ane, focusing first on the aggressive dual-wielder, then the shield knight. Luckily Niall is less aggressive when his guards are alive, and volition mainly buff them with his standard, letting yous deal with them in relative peace. Once both are downwardly, Niall volition enter his more aggressive phase, creating a giant frost AoE before whacking out his lightning leg and jumping at you. Now is the best fourth dimension to use your spirit ash summon.
The best time to hit Niall is after his lightning leg spring if you can get backside him when he lands. He also has an attack where he unleashes 3 waves of frost before he comes zooming at yous, simply this assail leaves him stunned, letting you become some hits in, or a stagger if yous're using bound attacks. When yous're behind him, exist wary of his lightning leg, since he'll back-kick at you and it requires some very precise dodging to evade. This fight is a lot easier if you bring sorceries or ranged for the second phase, since without his AoE attacks, Niall is less fearsome.
Loretta, Knight of the Haligtree
Difficulty: 🔥🔥
Reward: Loretta'due south War Sickle, Loretta's Mastery
Location: Haligtree Hamlet, Consecrated Snowfield
You'll first fight a spirit version of Loretta in the Caria Estate, and the actual Loretta dominate at the Haligtree is extremely similar. The key differences are that her second phase sorceries are more powerful, and that she jump casts some of them. Rather than simply using the Loretta's Greatbow sorcery, she'll utilize Loretta'southward Mastery, which fires far more projectiles.
She'll also employ the two hit Loretta's Slash ash of war that you get from her in the Caria Manor. Like all mounted bosses, y'all can wait for her to jump assail, and so coil backside her to hit, though be enlightened of the occasional kicking from the equus caballus. If you defeated Loretta in Caria, this boss actually shouldn't give yous much problem, since yous just take to exist a little more on your toes in terms of dodging the sorceries.
Elemer of the Briar
Difficulty: 🔥🔥
Reward: Marais Executioner's Sword, Briar Greatshield
Location: Shaded Castle, Mt. Gelmir
You lot can actually fight Elemer of the Briar long before you find him in the Shaded Castle, though in these fights he's called the Bell Bearing Hunter. The showtime see with the Bell Bearing Hunter is at the Warmaster'southward Shack on Stormhill at night, though you'll accept to rest at the grace again and enter the shack to summon him. These fights deed as a cracking practice for dodging his floating sword attacks and sudden charges, and you fifty-fifty become special bell bearings for them.
Elemer of the Briar in the Shaded Castle is the peak form of the boss, just since he's just a single entity, bringing a strong upgraded spirit ash duelist like Bolg will help you split his aggro and deal with him pretty quick. As you'd imagine from the guy wrapped in thorns, drain isn't very good in this fight, so you lot'll desire to bring as much pure physical damage equally you lot can. Force-users should besides exist able to stagger him pretty quick with some heavy spring attacks.
Open world
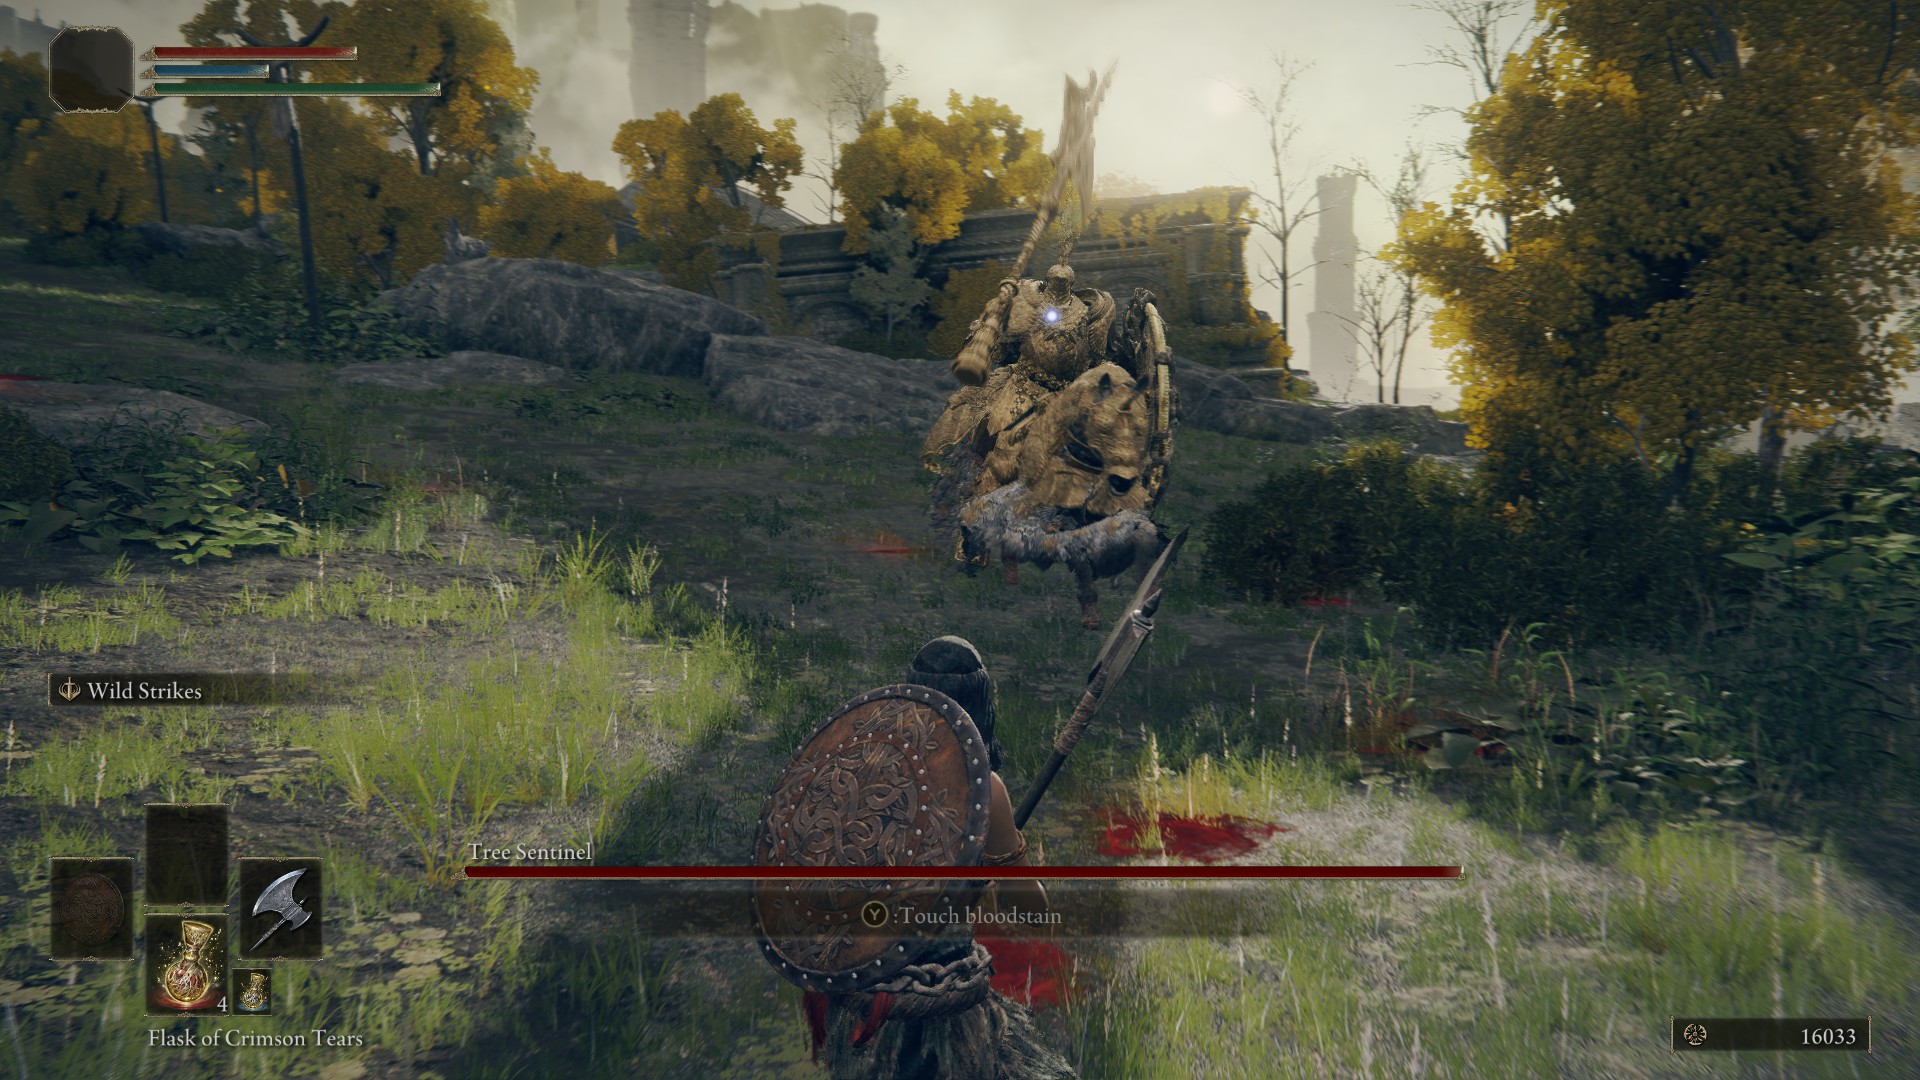
Tree Sentinel
Difficulty: 🔥🔥
Rewards: Aureate Halberd (Limgrave), Erdtree Greatshield (Altus Plateau)
Locations: West Limgrave, Altus Plateau.
Y'all can tackle the Tree Sentinel either with Torrent or on foot. If you are on horseback, this is a cautious fight, as you lot wait for him to attack and blitz in to smack his shield side. If on pes, stick close to him and move to his shield side whenever he rears. Utilize jump attacks, Square Off, or Impaling Thrust to stagger him. Once he'due south downwardly to half HP, he'll start using shield attacks, making it dangerous to stay shut to him. Allurement out his attacks at a altitude, and fleck him down with more than spring attacks and skills. In the Altus Plateau you'll discover two Tree Sentinels together, but it's advisable to allurement and fight them seperately.
Night's Cavalry
Difficulty: 🔥
Rewards: Nightrider Glaive (North Liurnia), Nightrider Flail (Weeping Peninsula), Nighttime'south Cavalry ready (Consecrated Snowfield), and Ashes of War.
Locations: East Limgrave, Weeping Peninsula, Caelid, Dragonbarrow, North Liurnia, South Liurnia, Forbidden Lands, Altus Plateau, Consecrated Snowfield.
The Night's Cavalry are similar to the Tree Sentinels except a footling faster, and these horsemen can be parried from their saddles, or you can kill their mountain. During the night, yous'll notice them throughout the Lands Between, and they wield glaives or flails. You lot can fifty-fifty fight two at once in the Consecrated Snowfield.
Every bit with Tree Sentinels, the correct side is their weakest, though lookout man out for the equus caballus's side barge. Generally the mount dies earlier the rider, and so deal as much impairment as y'all can before they get up and resummon their steed. Their rewards include their weapons, armor set, and some very valuable Ashes of War similar the Bloodhound Leap that you lot go from the Dragonbarrow variant.
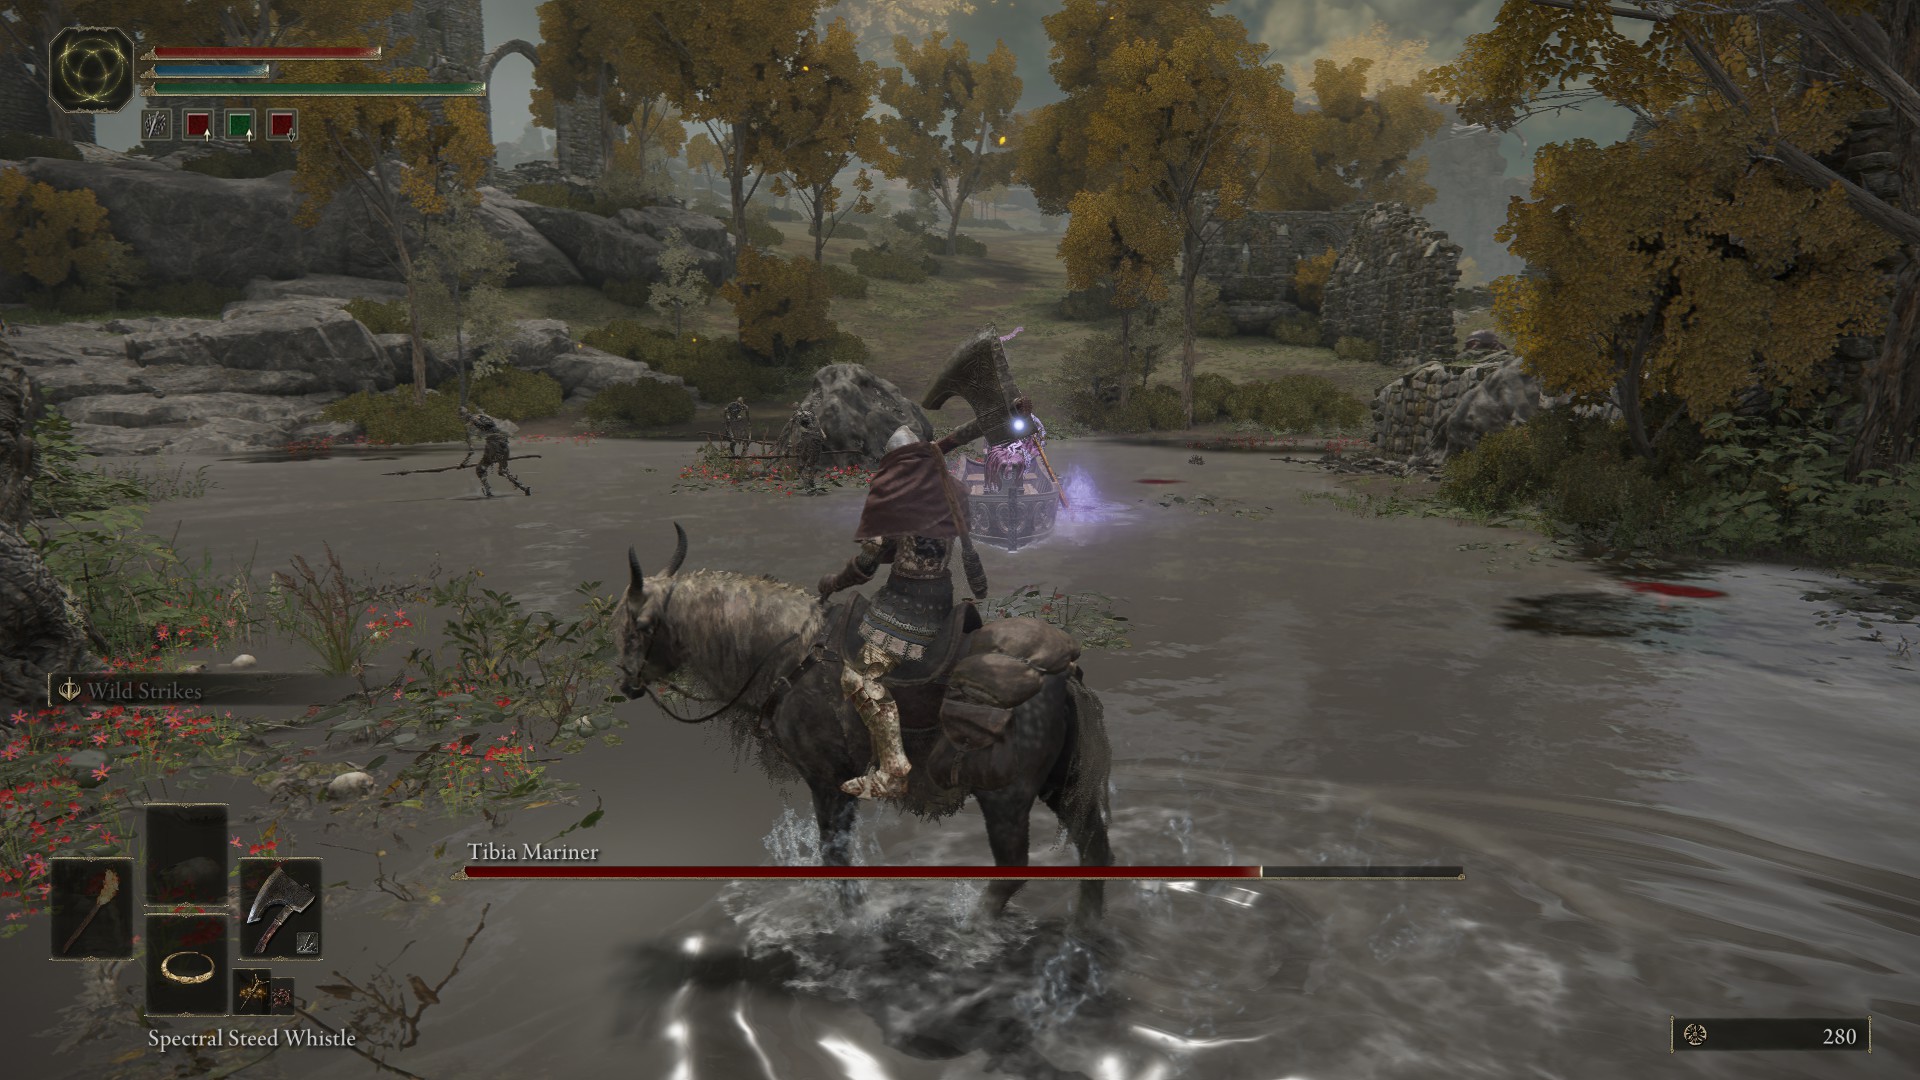
Tibia Mariners
Difficulty: 🔥
Rewards: Deathroot, undead summoning ashes and spell, and Helphen'due south Steeple greatsword.
Locations: Eastward Limgrave, East Liurnia, Mt. Gelmir, W Mountaintops of the Giants.
These undead boatmen turn up throughout the Lands Betwixt, and are harder with each run across, merely the easiest is in Summonwater Hamlet, and can exist beaten with Torrent. He simply has three attacks: holding his staff upwardly in the air for a very boring AoE shockwave, tilting his boat to splash downward and damage you with water, or throwing water at you using his staff.
Considering of your speed, you can outmanoeuvre the skeletons he summons, just be wary of the ane with the scythe at the back of the village who summons skulls that habitation in on yous. There's no existent rush with this boss, so just accept your time and flake the boatman down.
Dragons
Difficulty: 🔥🔥
Rewards: Dragon Hearts
Locations: West Limgrave, Dragonbarrow, Caelid, Liurnia, Mountaintops of the Giants, Mt. Gelmir.
There are lots of dragons scattered throughout the Lands Betwixt. Killing each will grant you with a dragon heart, and unlock some incantations yous tin can purchase from the Dragon Communion Altars in Caelid or West Limgrave. Near dragons take pretty similar movesets, the primary deviation being the type of burn down they exhale. Agheel and Greyll both breathe flame, for case, while Ekzykes breathes Scarlet Rot, and Smarag and Adula breathe magic.
The key to these fights is staying mounted, hit their caput when yous tin can, and if not, attacking their wings. Nearly dragons have tail spins, will bite behind them, or jump into the air to exhale fire down on you, and then be gear up to ride away or jump to avoid fire at a moments notice. If they practise reposition, close them downwardly apace so they tin't flame yous. The lightning dragons, such equally Lansseax in the Altus Plateau, are more melee focused so are easier to fight on foot. The same rules still use, though.
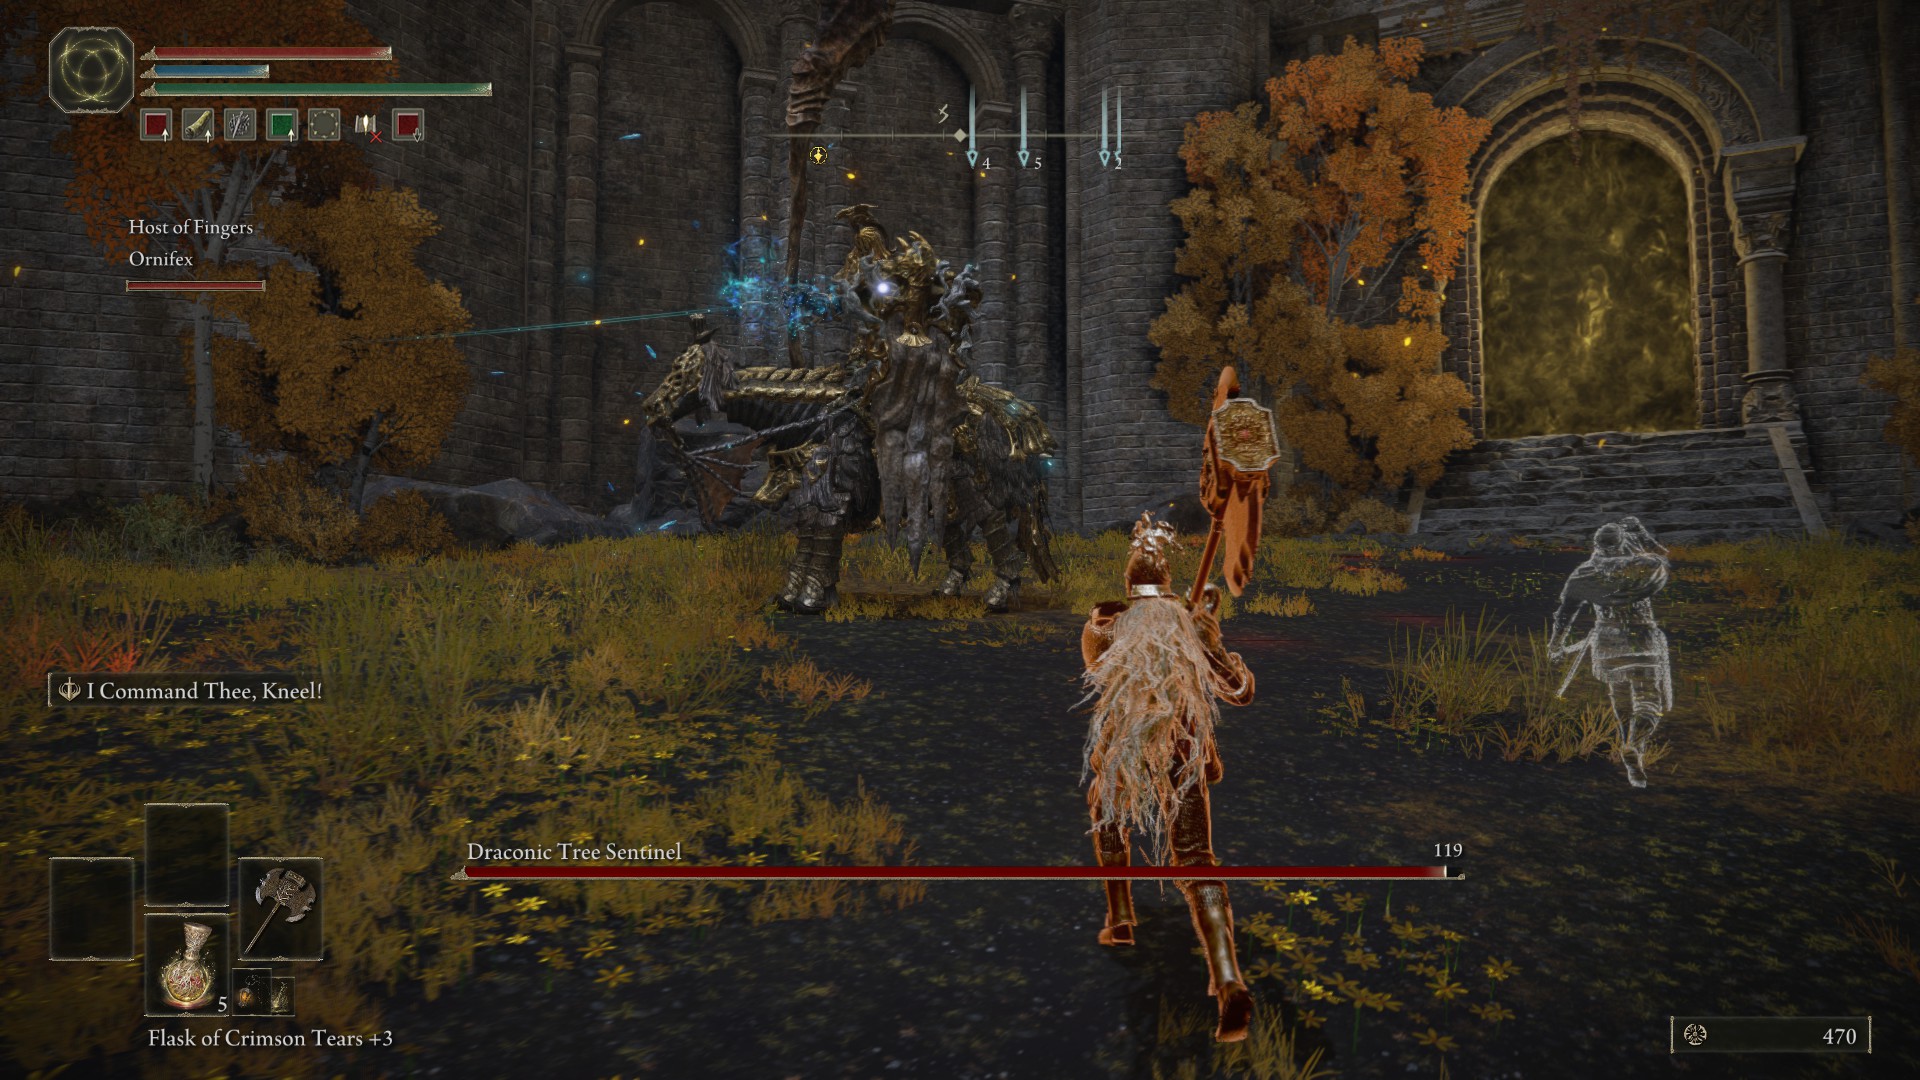
Draconic Tree Lookout
Difficulty: 🔥🔥🔥
Rewards: Dragon Greatclaw and Dragonclaw shield (Leyndell), Malformed armor set (Farum Azula)
Location: Leyndell, Farum Azula.
The mounted boss to end all mounted bosses. These guys are tough due their powerful AoE attacks and the lightning they call downwards from the sky in the second phase. I recommend summoning a friend and fighting on pes to split his aggression. In terms of attacks, scout out for the equus caballus spitting flames at you, and in the second phase, when they call downwards lightning from the sky. The central to dodging this is rolling only as his shield reaches the lesser of its dippin movement. If you insist on fighting horseback, deal damage on the shield side, since they can't get at you with his hammer, and spring to avoid the AoEs. When they run at you, they are going to jump and slam their hammer down.
Total-Grown Fallingstar Beast
Difficulty: 🔥🔥
Rewards: Fallingstar Brute Jaw (Mt. Gelmir)
Locations: Mt. Gelmir, and a smaller one in the Altus Plateau.
Torrent helps a lot with these bosses simply because it moves semi-erratically and needs to exist hit on its back or on its caput. Get prepare for a long fight where yous need to capitalize on the moments where the fauna misses its close-range attacks. Scout out for its electric spikes that information technology summons with its pincers; you can run away in a direct line to avoid it.
Gargoyles
Difficulty: 🔥🔥
Rewards: Gargoyle'south Blackness Bract and Gargoyle's Black Halberd (Dragonbarrow), Gargoyle's Black Axe and Gargoyle'south Blackness Blades (Forbidden Lands)
Location: Leyndell, Dragonbarrow, Forbidden Lands.
Though these giant stone gargoyles all come in different flavours, they are basically the same equally the Valiant Gargoyle dominate y'all fight in the Siofra Aqueduct. The key to beating them is staying close to their legs to deal damage, and if they make altitude, dodging their combo to shut them downwards again. In that location are merely 2 types or gargoyle: twinblade/axe and sword/halberd, and they share the same moveset no matter what.
For sword/halberd you lot'll want to picket out for quick stabs, and the gargoyle slamming the sword into the ground to create a targeted shockwave. Once it draws its halberd it can create an AoE hurricane around itself. For the twinblade/axe variant, I commonly find information technology best simply to wait until information technology switches to axe, since those attacks are far slower and easy to deal with. Both types also accept flying attacks, merely these usually have a long windup, and then can be evaded with ease.
Dungeon and Evergaol
Bloodhound Knights
Difficulty: 🔥🔥
Advantage: Bloodhound's Fang greatsword (Forlorn Hound Evergaol), Bloodhound Knight set (Gelmir Hero's Grave), Bloodhound Claws (Volcano Manor)
Location: Forlorn Hound's Evergaol, Lakeside Crystal Cave, Volcano Manor, Gelmir Hero's Grave.
These Artorias-esque bestial swordsmen don't have likewise much health, simply are super aggressive. They combo for days, so it'due south best to stay at a distance and get hits in when they finish. Expect out for when utilise Bloodhound's Step to vanish and re-appear next to you lot, and when they scrape their claws along the ground to uppercut you, followed upwards by a quick overhead slash.
They also have a jump attack with pretty deceptive range, and then information technology's all-time to stay well back. If yous speak to Blaidd at the Mistwood Ruins, you can summon him for the first Bloodhound Knight you encounter at the Forlorn Hound'south Evergaol. As with whatsoever fast-moving boss, like the Cemetary Shade, it'due south a bully thought to summon a grouping of spirits to confuse their aggro and inhibit their movements, though you'll accept to become ambitious if you don't want them to quickly go killed.
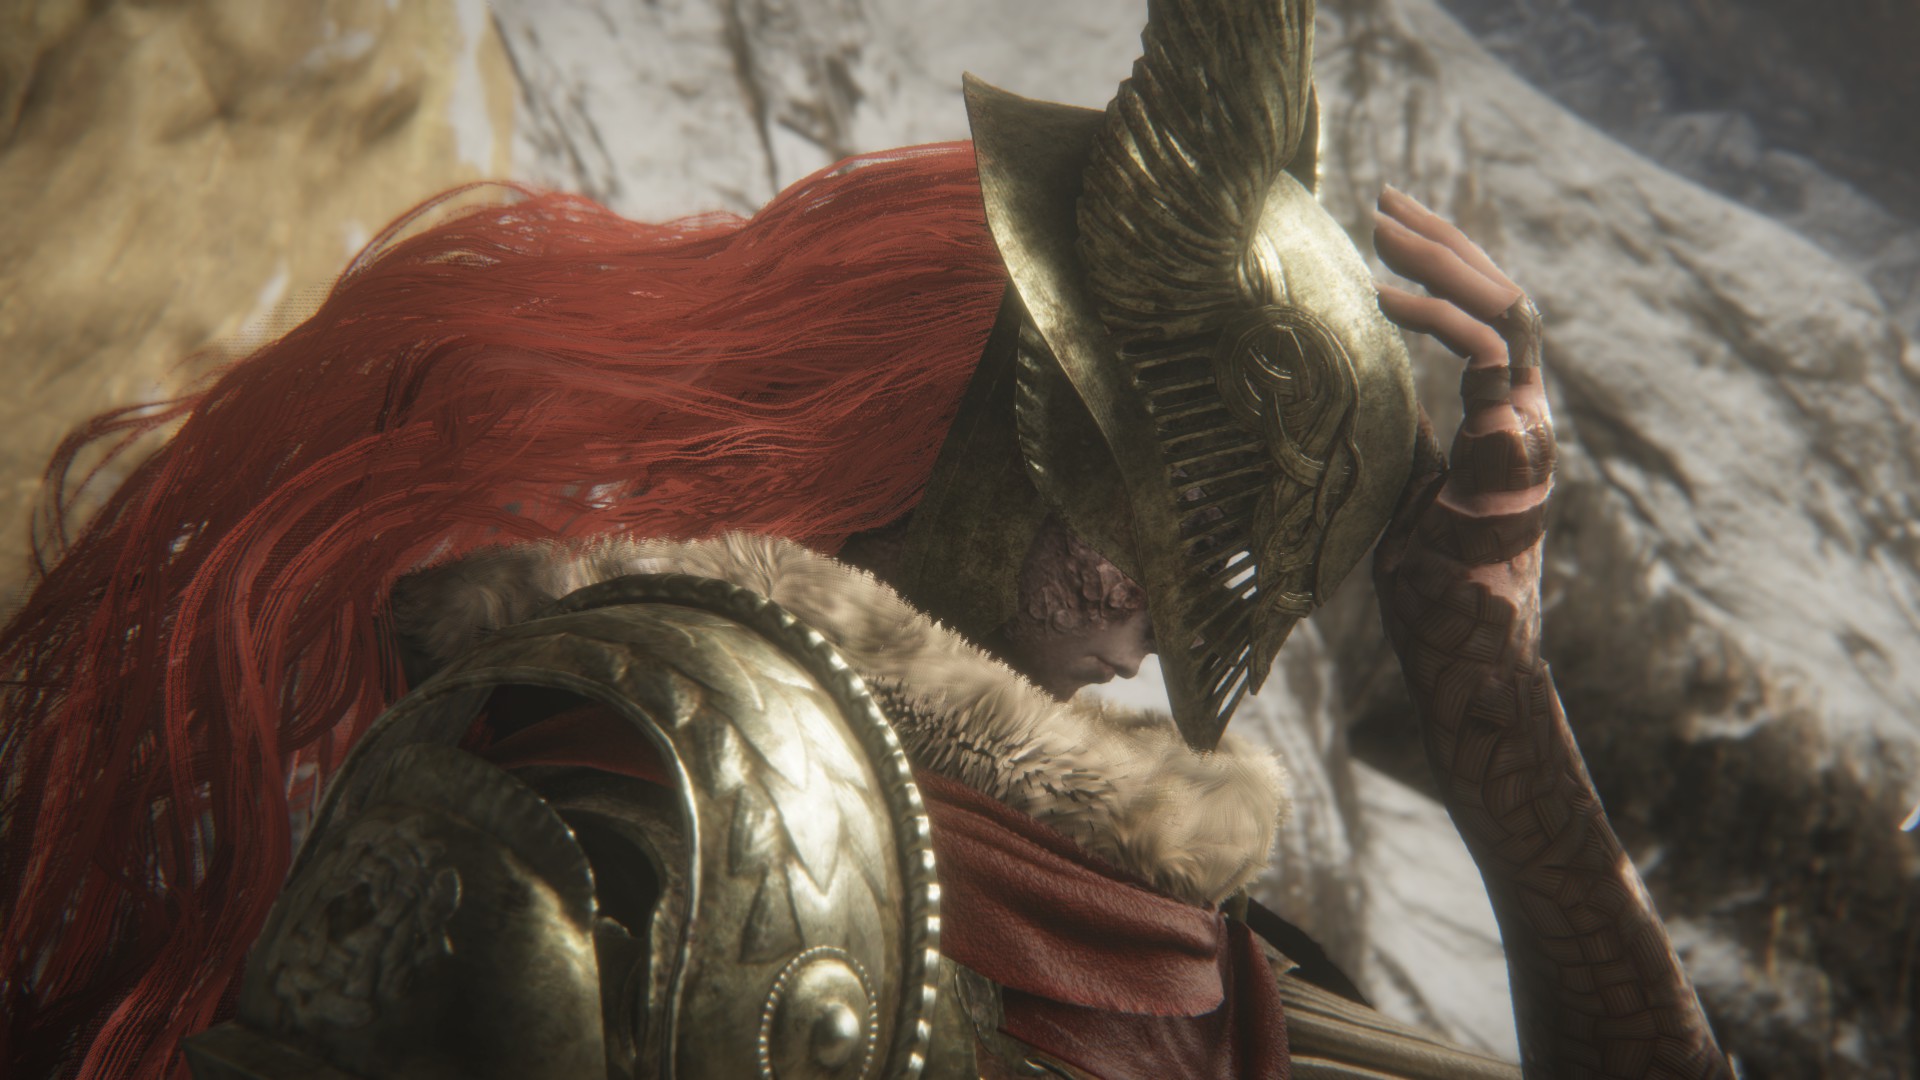
Crucible Knights
Difficulty: 🔥🔥🔥
Reward: Aspects of the Crucible incantations, Siluria's Spear (Deeproot Depths), Ordovis'southward Greatsword (Auriza Hero'southward Grave)
Location: Stormhill Evergaol, Siofra Aqueduct, Redmane Castle, Stormveil Castle, Road'south End Catacombs, Auriza Hero'southward Grave, Deeproot Depths, Leyndell, Mt. Gelmir, Farum Azula
Crucible Knights are constitute throughout the Lands Betwixt and they suck, honestly. There is no boss, except peradventure Margit, that features such excessively long attack delays, making them a existent pain to fight at times. Crucible Knights come in 2 variants: sword and shield, or spear.
The sword variant's worst attacks are the super delayed shield attack and the ground-breaking stomp, which you lot accept to dodge late for in order to not go defenseless. They also have a deceptive running slash or stab that makes healing rather difficult unless you go some distance. The spear variant is a little easier to bargain with, but will withal fire holy projectiles from a altitude with their spear. Some Crucible Knights, like the one in Mountain Gelmir that appears if you kill Tanith, use unique Aspects of the Crucible during their second phase.
Mostly, the sword and shield variant volition grow wings and dive at you lot, while the spear version will jump into the air and drop downwards on meridian of y'all, both of which can be dodged. It's easier to tackle the spear version from a distance due to lack of shield, merely sadly the best way to kill the sword and shield Crucible Knight is but to larn to dodge his attacks and hit him at the end of comboes. You can observe the first in the Stormhill evergaol in W Limgrave, and that boss is good practice for all the Crucible Knights you'll confront in the game.
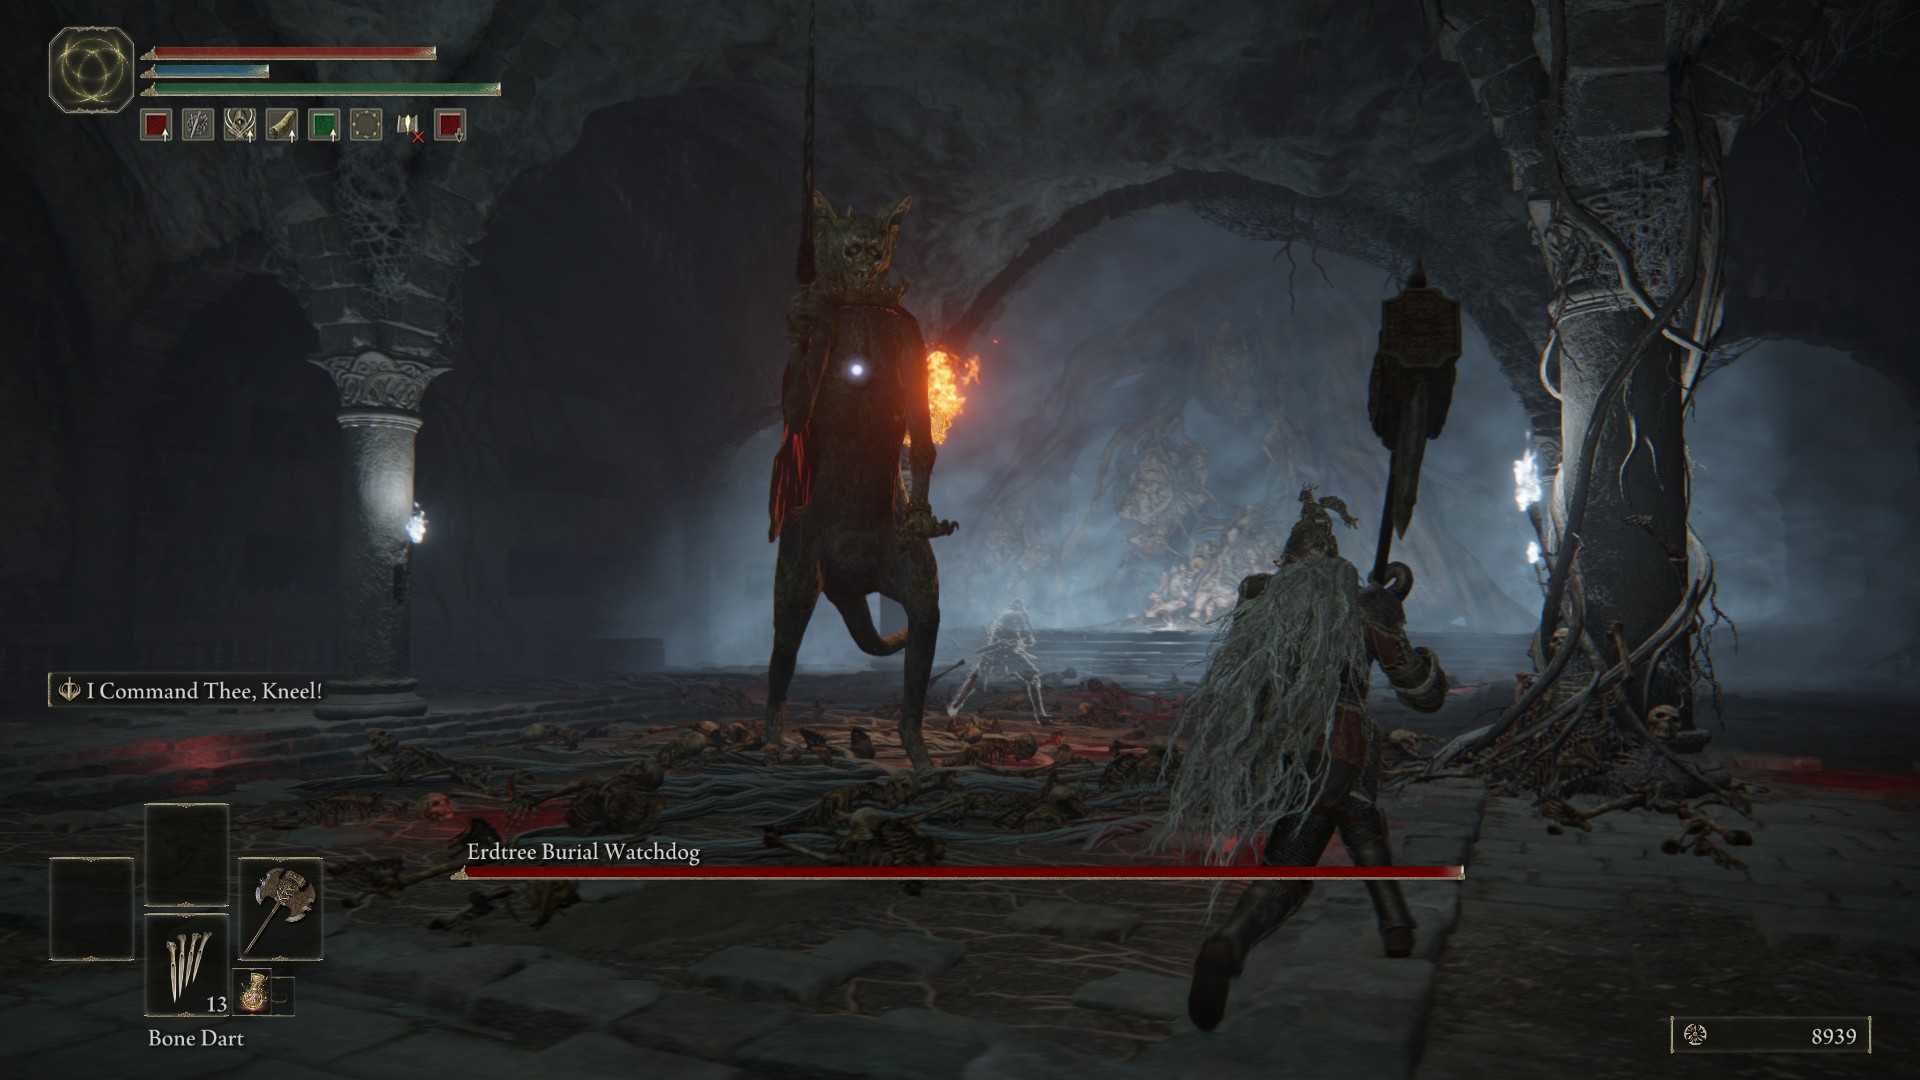
Erdtree Burial Watchdogs
Difficulty: 🔥
Reward: Noble Sorcerer Ashes (Stormfoot Catacombs), Demi-Human Ashes (Impaler's Catacombs), Kaiden Sellsword Ashes (Cliffbottom Catacombs), Glovewort Picker's Bell-bearing (Wyndham Catacombs), Mad Pumpkin Caput Ashes (Pocket-size Erdtree Catacombs), Watchdog'south Greatsword (Giant-Conquering Hero's Grave)
Location: Stormfoot Catacombs, Impaler's Catacombs, Wyndham Catacombs, Cliffbottom Catacombs, Minor Erdtree Catacombs, Behemothic-Acquisition Hero's Grave
You'll discover many Erdtree Watchdogs throughout the game and though they aren't fearsome past themselves, they can be when other enemies are involved. In the Impaler's Catacombs, y'all'll take to fight Imps at the same time, then a summon or some spirit ashes are strongly recommended to go along the dominate occupied while you deal with them. The Minor Erdtree Catacombs feature a duo of watchdogs, but you lot tin can actually make them fight each other past throwing four glintstone darts at one of them.
Later versions such as the one in Cliffbottom Catacombs also employ sorcery, and the makes the AoE from the plunging attack even harder to avert. If in that location's 1 assault you should learn to contrivance, information technology'southward this i, since they all take it and it's e'er troublesome. The key is waiting for them to reach the tiptop of their ascension, and then dodging after a short delay.
Grave Warden Duelists
Difficulty: 🔥🔥
Reward: Banished Knight Engvall Ashes (Murkwater Catacombs), Putrid Corpse Ashes (Gaol Cave), Soldjars of Fortune Ashes (Auriza Side-tomb, Rotten Gravekeeper Cloak (Consecrated Snowfield Catacombs), Boxing Hammer, Duelist Greataxe and Duelist set (Leyndell) Rotten Duelist set and Rotten Duelist Greataxe (Consecrated Snowfield)
Location: Murkwater Catacombs, Gaol Cavern, Auriza Side-Tomb, Consecrated Snowfield Catacombs, Consecrated Snowfield
As with most Elden Ring bosses, these warriors eventually show up as enemies in Leyndell and the Consecrated Snowfield, letting y'all subcontract their weapons and armor sets. Even so, to start off, you'll face up them equally bosses. There are two chief variants: dual-wielding boxing hammers, and the greataxe. There's also a version that deals scarlet rot later in the game.
Their combos are relatively easy to avoid, and you lot can split their aggro with summons. The main thing you need to be wary of are their grab attacks, and when they utilize the chains on their weapons to perform massive AoE sweeps. Still, they can staggered using heavy jump attacks, and you can actually backstab them, which makes things a whole lot easier.
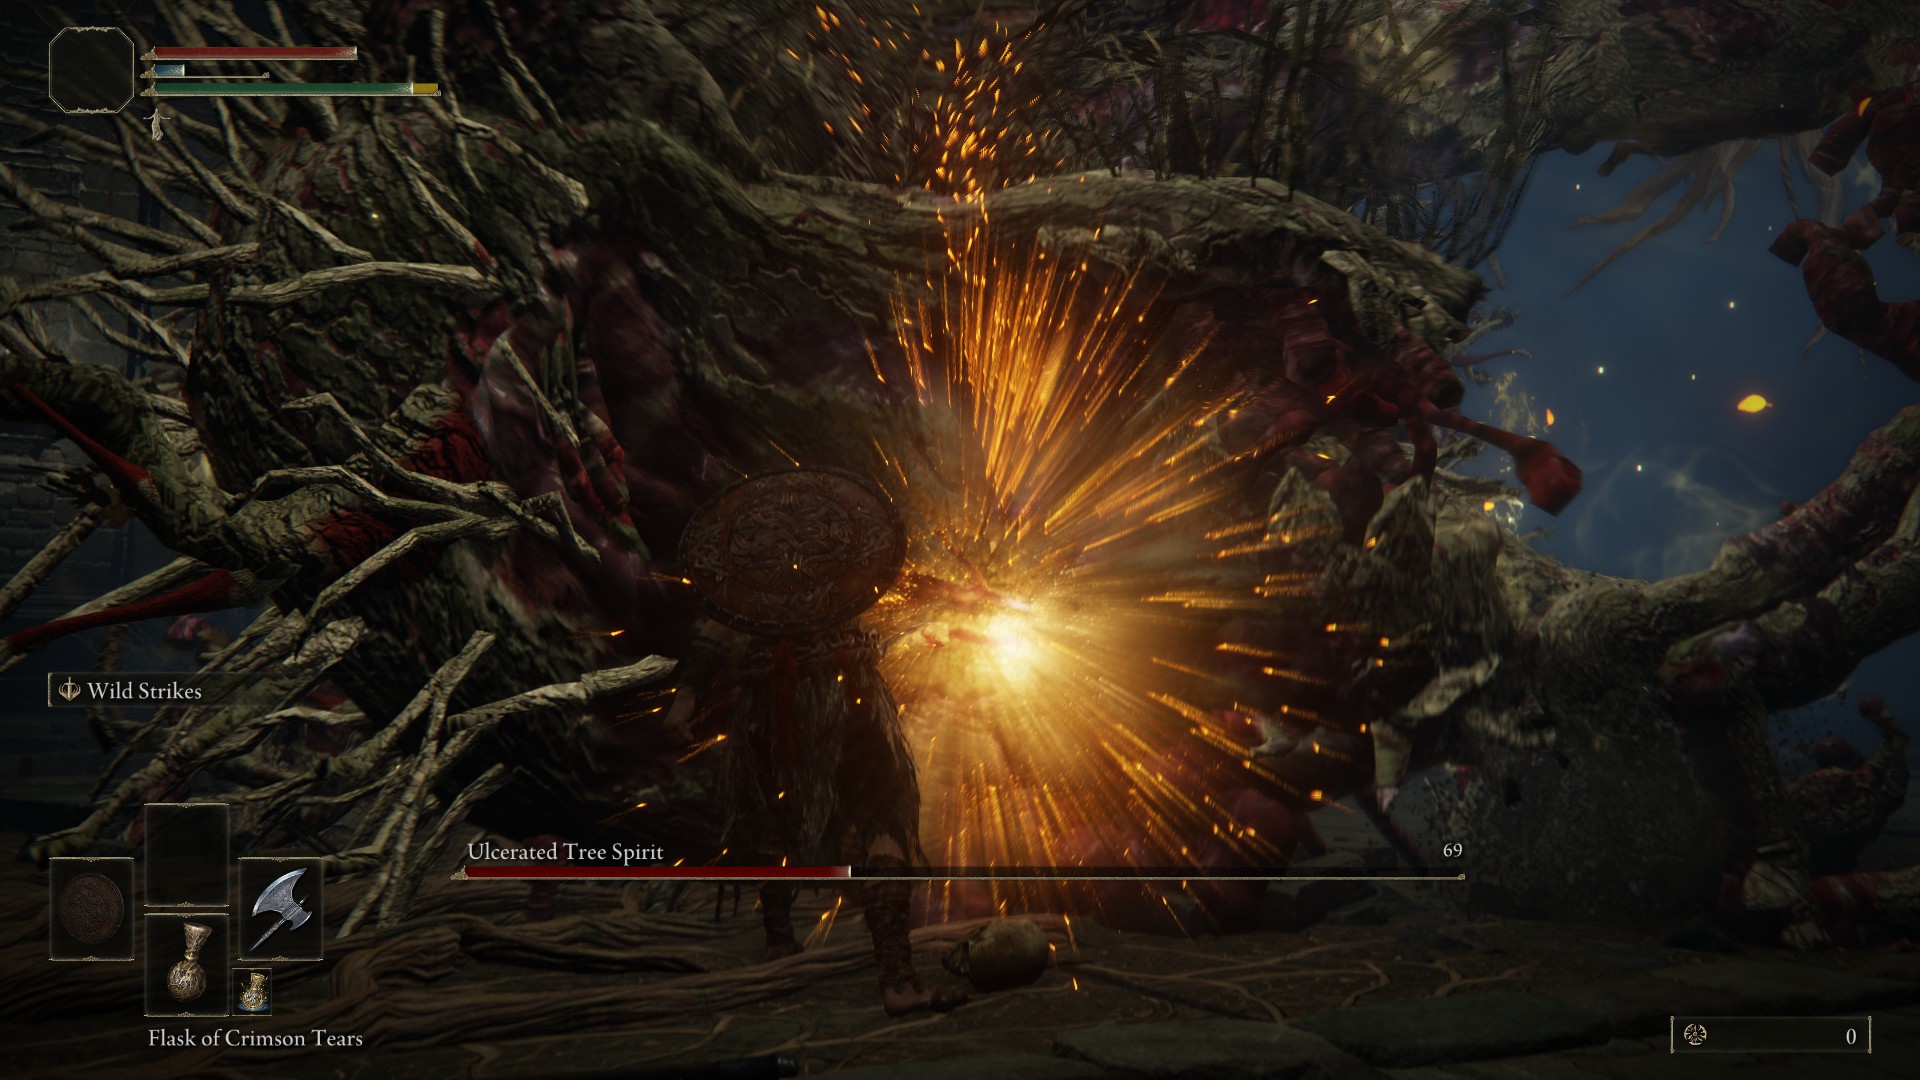
Ulcerated Tree Spirits
Difficulty: 🔥🔥
Advantage: Oleg ashes (Fringefolk Hero's Grave), Glovewort Picker's Bell-Begetting (Giant'southward Mountaintop Catacombs), Leaden Hardtear and Cerulean Hidden Tear (Mt. Gelmir) and all others drib a Gold Seed.
Location: Fringefolk Hero'south Grave, Stormveil Castle, Altus Plateau, Mt. Gelmir, Giant's Mountaintop Catacombs, Lake of Rot, Haligtree.
Though these giant tree snakes turn up later in the game as enemies, the boss variants mainly exist in dungeons, and information technology's possible to encounter the first correct at the offset of the game in the Fringefolk Hero's Grave dungeon. Luckily, their attacks remain the same throughout the game. The one main to be aware of usually starts occuring when the Tree Spirit is at one-half-health, and information technology'll make some noises earlier exploding in an AoE. The range on the AoE isn't too bad, but pillars of fire will besides erupt from the floor, and so make sure to avoid the lights that appear showing where they'll be.
Other than that, most of its attacks are tail swipes. When information technology curls its caput into its left side, it'south also going to lunge at you. Heavy jump attacks and skills are pretty effective so you can stagger it before whacking information technology in the head with a couple of charged attacks. Its side might also seem like an inviting target, just beware of downward stomps from its mitt. Maintain distance to avert the AoE, then run in and jump assault or employ a skill to get those staggers. Rinse and repeat.
Source: https://www.pcgamer.com/elden-ring-bosses-locations/
0 Response to "How to Fight Bosses Again in Bloodborne Faster"
Postar um comentário